
Over half of American adults report experiencing significant pain during their first tattoo, making proper numbing techniques more crucial than ever. Choosing the right supplies and following proven steps can completely change your tattoo experience, turning anxiety into confidence. This guide breaks down each stage of the numbing process so you can walk into your next session knowing you have the best pain management strategy ready to go.
Table of Contents
- Step 1: Gather Essential Numbing Supplies
- Step 2: Clean and Prep Your Tattoo Area
- Step 3: Apply Numbing Cream Effectively
- Step 4: Seal and Wait for Activation
- Step 5: Assess Numbness Before Tattooing
- Step 6: Remove Cream and Verify Readiness
Quick Summary
| Essential Takeaway | Explanation |
|---|---|
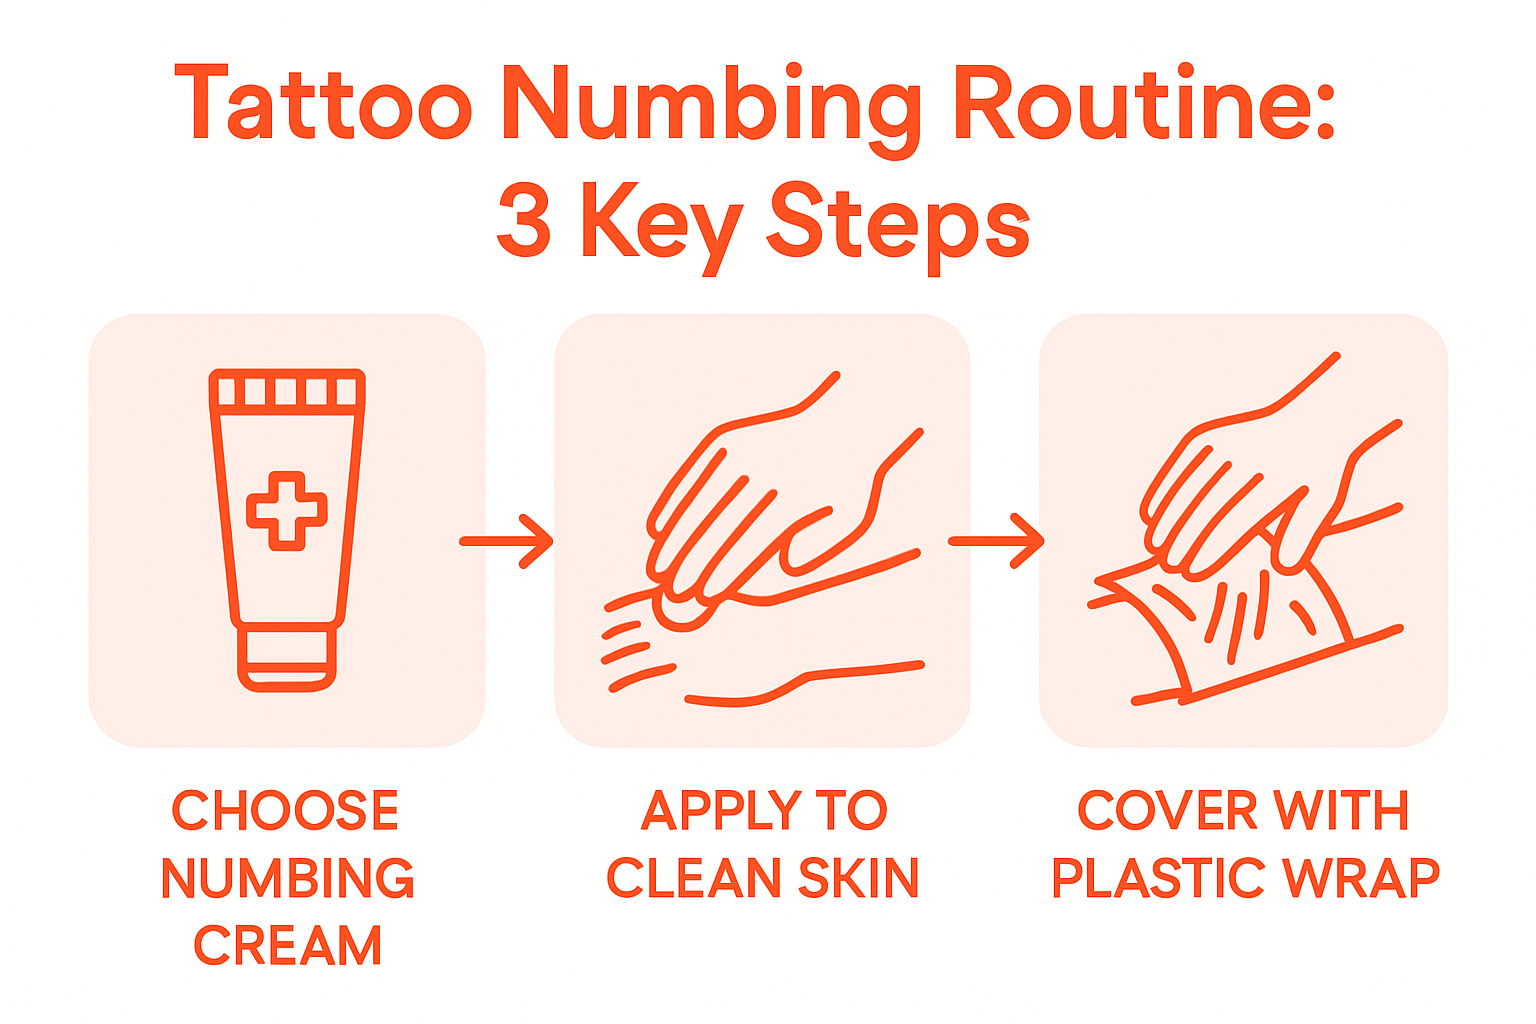
| 1. Choose the right numbing cream | Select a professional-grade cream with 4% to 10% lidocaine for effective pain management during your tattoo session. |
| 2. Clean the tattoo area thoroughly | Use mild antibacterial soap and rubbing alcohol to ensure the skin is free of oils and debris for optimal numbing absorption. |
| 3. Apply numbing cream evenly | Squeeze a quarter-sized amount onto gloved fingertips and apply in a uniform layer for consistent numbness across the area. |
| 4. Create a microclimate for activation | Cover the numbing cream with medical-grade plastic wrap to enhance absorption by increasing moisture and temperature. |
| 5. Assess numbness before proceeding | Test the numbness with a pinch to confirm effective numbing; communicate any concerns to your tattoo artist before starting. |
Step 1: Gather essential numbing supplies
Preparing for a comfortable tattoo experience starts with assembling the right numbing products and tools. Your goal here is to create a strategic pain management kit that will help you minimize discomfort during your tattoo session.
Start by selecting a professional-grade numbing cream with appropriate lidocaine concentration. Professional numbing solutions from institutes like Institute of Ink offer specialized products designed specifically for tattoo procedures. Look for creams with lidocaine percentages between 4% and 10%, which provide effective pain reduction without overwhelming sensitivity. Recommended options include LMX4 with 4% lidocaine for shorter tattoos or J-Cain Cream with 10.56% lidocaine for extended sessions.
Beyond the numbing cream, gather complementary supplies that enhance your pain management strategy. Pack clean cotton swabs for precise cream application, disposable gloves to maintain hygiene, and alcohol wipes to clean the tattoo area before product use. Consider bringing a small towel or washcloth to manage any potential cream residue. Pro tip: Always check with your tattoo artist about their specific numbing cream policies, as some studios have preferences or restrictions on pre treatment products.
Your next step will involve carefully preparing the numbing cream application process, ensuring maximum effectiveness and comfort during your tattoo experience.
Step 2: Clean and prep your tattoo area
Before applying your numbing cream, proper skin preparation is crucial for maximum effectiveness and safety. Your goal is to create a clean smooth surface that allows optimal absorption of the numbing agent.
Thorough skin preparation techniques from Tattoo Genesis recommend a precise cleaning process that goes beyond simple washing. Start by gently cleansing the tattoo area with mild antibacterial soap and lukewarm water, using soft circular motions to remove surface dirt and oils. Pat the area dry completely with a clean towel avoiding rough rubbing that might irritate the skin. Next, take a paper towel soaked in rubbing alcohol and carefully wipe down the entire area you will be numbing. This critical step removes residual oils dead skin cells and potential bacteria that could interfere with cream absorption.
After cleaning, inspect the skin for any cuts scratches or unusual texture that might prevent even cream application. If you notice any skin irregularities consider consulting your tattoo artist before proceeding. Your cleaned and prepped skin will now be ready for the numbing cream application ensuring the most comfortable tattoo experience possible. The next step involves precisely applying the numbing cream to maximize your pain reduction strategy.
Step 3: Apply numbing cream effectively
Successfully applying numbing cream requires precision and attention to detail to maximize pain reduction during your tattoo session. Your primary goal is creating an even layer of protection that minimizes discomfort without compromising the tattooing process.
Manufacturer guidelines from Tattoo Genesis recommend a strategic application approach. Start by wearing disposable gloves to maintain hygiene and prevent unintended numbing of your hands. Squeeze a moderate amount of cream onto your gloved fingertips approximately the size of a quarter for smaller tattoo areas or a silver dollar for larger regions. Apply the cream in a thick uniform layer completely covering the entire area to be tattooed using gentle circular motions. Ensure complete coverage without leaving any skin exposed ensuring consistent numbness.
After application some professionals suggest covering the cream with medical grade plastic wrap to enhance absorption and activate the numbing agents more quickly. However timing is critical check the specific product instructions carefully to avoid potential skin irritation. Most numbing creams require approximately 30 to 45 minutes of absorption time before reaching peak effectiveness. Your next step will involve preparing for your tattoo session by wiping off excess cream and allowing the numbing agent to work its magic.
Step 4: Seal and wait for activation
Activating your numbing cream effectively can significantly improve its performance and ensure maximum pain reduction during your tattoo session. Your goal is to create optimal conditions for the cream to penetrate and numb your skin thoroughly.
Research from Fillers Fairy highlights the science of cream absorption by explaining how creating a microclimate can enhance the numbing process. Carefully cover the applied cream with medical grade plastic wrap creating a sealed environment that slightly increases skin temperature and humidity. This technique accelerates absorption and intensifies the numbing agent’s effectiveness. Wrap the area gently without stretching the skin ensuring complete coverage while allowing minimal air circulation. Press the edges of the plastic wrap softly to create a secure seal that locks in moisture and promotes deeper cream penetration.
While waiting for the numbing cream to activate find a comfortable position and avoid excessive movement that might disrupt the plastic wrap. Most numbing creams require approximately 30 to 45 minutes of undisturbed absorption time. Set a timer to track the recommended duration and prevent over application. Pro tip: Keep a clean towel nearby to quickly remove the plastic wrap and cream when youre ready for your tattoo session. Your next step involves carefully removing the numbing cream and preparing your skin for the tattooing process.
Step 5: Assess numbness before tattooing
The final preparation stage involves carefully evaluating your skin’s numbing level to ensure a comfortable and successful tattoo experience. Your goal is to confirm that the numbing cream has effectively reduced sensation across the entire tattoo area.
Recommended pre tattoo assessment guidelines from Tattoo Genesis suggest a systematic approach to testing numbness. Begin by gently touching the treated area with your fingertip and performing a light pinch test to check sensitivity. You should feel minimal to no pain when applying moderate pressure. If certain spots feel more sensitive than others repeat the cream application in those specific regions. Consult with your tattoo artist about the numbness level and ask them to perform a professional assessment before beginning the tattoo process.
Pay attention to any unusual sensations or uneven numbness. Some areas might feel more desensitized than others depending on skin thickness and cream absorption. If you experience incomplete coverage communicate this to your tattoo artist immediately. They can help you reapply the numbing cream or adjust their approach. Your next step involves removing any excess cream and preparing for the actual tattooing process with your freshly numbed skin.
Step 6: Remove cream and verify readiness
The final preparation stage involves carefully cleaning off the numbing cream and ensuring your skin is perfectly primed for the tattoo session. Your goal is to create a clean pristine surface that allows your tattoo artist to work efficiently and comfortably.
Recommended cream removal techniques from Tattoo Genesis emphasize the importance of thorough yet gentle cleansing. Use lukewarm water and mild unscented soap to gently rinse away the numbing cream using soft circular motions. Avoid aggressive scrubbing that might irritate the skin. Pat the area dry with a clean soft towel ensuring no cream residue remains. Take a moment to do a final visual and sensory check with your tattoo artist confirming that the skin looks clean uniform and appropriately desensitized.
Before the tattoo begins communicate any remaining sensitivity or concerns with your artist. They can help you determine if additional numbing is required or if youre ready to proceed. Pro tip: Keep a small clean towel nearby during the tattoo session in case you need quick skin management. Your next step is to relax and prepare for your tattoo experience with confidence in your pain management strategy.
Achieve Pain-Free Tattoo Sessions with Trusted Numbing Solutions
Getting ready for your tattoo involves careful numbing cream application to reduce discomfort effectively. The article “Efficient Tattoo Numbing Routines for Painless Sessions” highlights critical steps like selecting the right lidocaine concentration and properly sealing the cream for best absorption. We understand your goal to minimize pain and maximize comfort during tattooing.

Experience the confidence that comes with using premium numbing creams like TKTX and Dermacain available at Buy TKTX Online. Our products guarantee up to 3 hours of pain-free tattooing backed by a 100% satisfaction policy and free shipping on European orders over 30 Euro. Don’t wait until your session—prepare with professional-grade creams that tattoo artists trust. Visit Buy TKTX Online today and take the first step toward a painless tattoo experience.
Frequently Asked Questions
How can I effectively prepare for painless tattoo sessions?
To effectively prepare for painless tattoo sessions, gather essential numbing supplies, including a professional-grade numbing cream with an appropriate concentration of lidocaine. Ensure you clean and prep your tattoo area thoroughly to allow the cream to absorb maximally, creating a comfortable tattoo experience.
What is the best way to apply numbing cream before tattooing?
The best way to apply numbing cream is to wear disposable gloves and use a moderate amount to create a thick, even layer over the area to be tattooed. After applying the cream, consider covering it with medical-grade plastic wrap to enhance absorption, allowing it to work effectively for about 30 to 45 minutes.
How can I ensure the numbing cream is working properly?
To ensure the numbing cream is working properly, gently touch the treated area and perform a light pinch test. You should feel minimal to no pain; if you notice any sensitivity, reapply cream to those specific spots before proceeding with your tattoo session.
What should I do before my tattoo artist starts the tattooing process?
Before your tattoo artist begins, thoroughly remove the numbing cream using lukewarm water and mild soap, ensuring the area is clean and free of residual product. Communicate any remaining sensitivity to your artist, so they can assess if additional numbing is needed or confirm you are ready to proceed.
How long should I wait after applying numbing cream before my tattoo session?
You should wait approximately 30 to 45 minutes after applying the numbing cream for it to reach peak effectiveness. Set a timer to ensure that you do not exceed the recommended absorption time, as this can help prevent potential skin irritation.


