
Finding the ideal numbing cream is a game changer for tattoo enthusiasts who refuse to settle for pain. Scientific studies reveal over four out of five American tattoo clients now request numbing products for large or sensitive areas. This surge is especially true among Central European artists and clients striving for safe, effective solutions. Discover the simple steps to choose and use numbing creams that maximize comfort while ensuring your tattoo looks stunning from the first line to the final touch.
Table of Contents
- Step 1: Choose The Right Tattoo Numbing Cream
- Step 2: Prepare Your Skin For Maximum Effectiveness
- Step 3: Apply Numbing Cream Safely And Evenly
- Step 4: Verify Numbness Before Tattooing Begins
- Step 5: Monitor Comfort During The Tattoo Process
Quick Summary
| Key Point | Explanation |
|---|---|
| 1. Choose numbing cream wisely | Select creams with 4% to 5% lidocaine, avoiding benzocaine to minimize allergic reactions and ensure effectiveness. |
| 2. Prepare skin for optimal absorption | Clean the tattoo area thoroughly and cover with wrap after applying the cream to enhance penetration and effectiveness. |
| 3. Ensure even application | Apply a thick, uniform layer of cream and allow it to sit for 60 to 90 minutes for maximum pain reduction. |
| 4. Verify numbness pre-tattoo | Check with your tattoo artist for numbness before beginning to ensure sufficient pain relief during the session. |
| 5. Communicate discomfort during tattooing | Maintain open communication with your artist about pain levels and take breaks if needed for a more comfortable experience. |
Step 1: Choose the Right Tattoo Numbing Cream
Picking the perfect tattoo numbing cream can transform your ink experience from potentially painful to surprisingly comfortable. Your goal is finding a product that effectively reduces sensation without compromising your skin’s health or tattoo quality.
When selecting a numbing cream, focus on its lidocaine concentration. Tattoo experts recommend creams with 4% 5% lidocaine that block nerve signals and minimize pain during your tattoo session. Look for fast onset times between 20 and 60 minutes, with a lasting effect of 2 to 4 hours. Critically, avoid creams containing benzocaine due to potential allergic reactions.
Always check the product’s ingredients for hypoallergenic formulations and conduct a patch test 24 hours before your tattoo appointment. Professional tip: chat with your tattoo artist about their recommended numbing cream to ensure maximum compatibility and optimal results.
Pro tip: Check the cream’s ingredient list carefully and perform a small skin patch test to prevent unexpected allergic reactions during your tattoo session.
Here’s a comparison of common numbing cream ingredients for tattoos:
| Ingredient | Benefits | Drawbacks |
|---|---|---|
| Lidocaine | Fast, effective numbing | May cause mild irritation |
| Benzocaine | Mild numbing effect | Higher allergy potential |
| Prilocaine | Moderate numbing, blends well | Not always hypoallergenic |
| Tetracaine | Long-lasting effects | Can increase skin dryness |
Step 2: Prepare Your Skin for Maximum Effectiveness
Preparing your skin correctly is the secret weapon for ensuring your numbing cream works like a charm during your tattoo session. The right preparation can dramatically improve the cream’s performance and your overall comfort.
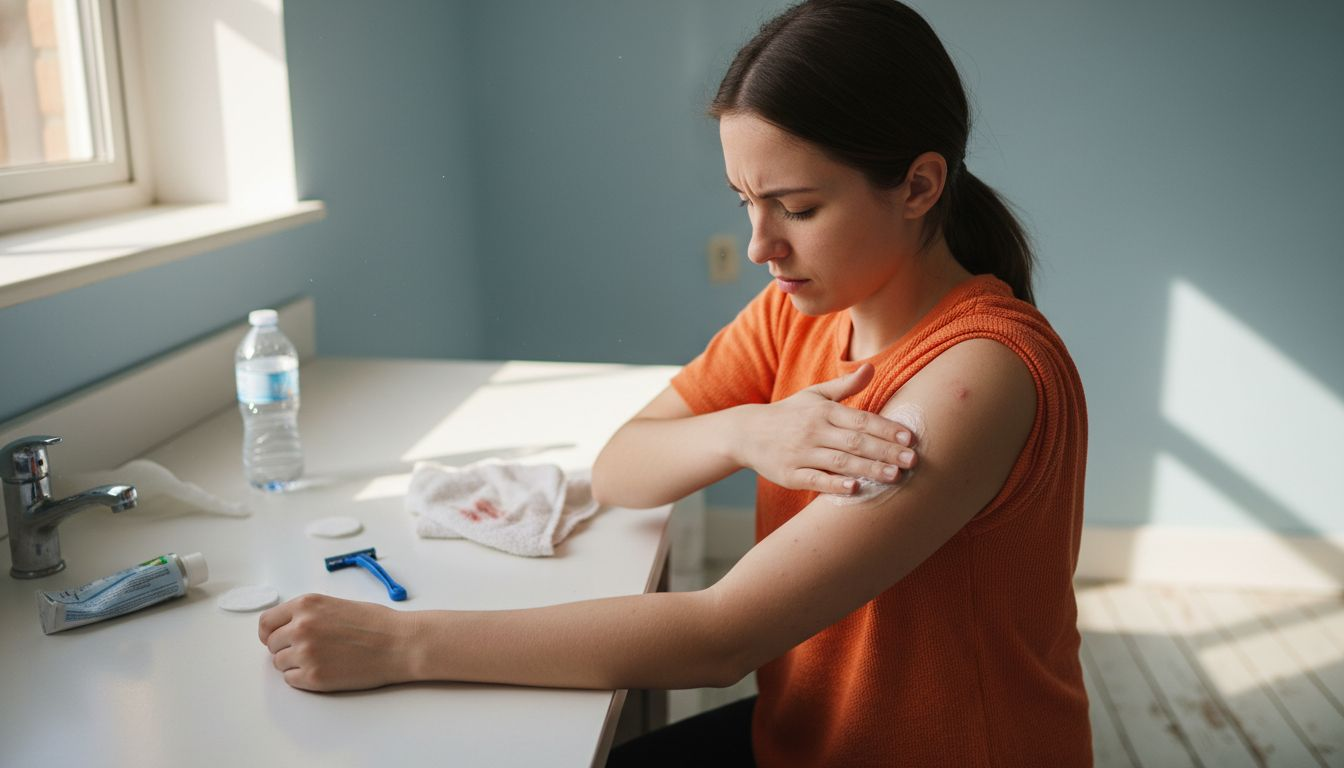
Skin preparation techniques are critical for optimal numbing cream absorption. Start by thoroughly cleaning the tattoo area with a mild antibacterial soap and warm water to remove any oils, dirt, or residue. If the area has hair, carefully shave it since hair can block the cream’s absorption into your skin. After washing, pat the skin completely dry using a clean towel.
Timing is everything when applying numbing cream. Aim to apply the cream 60 to 90 minutes before your tattoo appointment. Cover the cream with an airtight occlusive wrap to trap heat and moisture, which enhances the cream’s penetration and effectiveness. Remember to always conduct a patch test 24 hours prior to your appointment to check for any potential skin sensitivity or allergic reactions.
Pro tip: Use a clean plastic wrap or medical tegaderm to cover the numbing cream and keep it warm, which helps increase its absorption and numbing power.
Step 3: Apply Numbing Cream Safely and Evenly
Applying numbing cream is more than just slapping on a random product. Your goal is creating a protective barrier that maximizes pain reduction while keeping your skin healthy and ready for an awesome tattoo experience.
Start by squeezing out a generous amount of cream onto a clean surface or directly onto your prepared skin. Use your fingertips to spread the cream in a thick, uniform layer that completely covers the entire tattoo area. Aim for complete coverage with no gaps or thin spots. Press the cream gently into your skin using circular motions to ensure maximum absorption. Make sure you apply a consistent thickness about one quarter inch deep across the entire region.
Once applied, let the cream sit for the recommended time typically 60 to 90 minutes before your tattoo appointment. Some creams work faster or slower depending on their specific formulation. If possible, cover the area with a clean plastic wrap to trap body heat and enhance the cream’s penetrative properties. This helps activate the numbing agents and improve overall effectiveness.
Pro tip: Wear loose clothing over the numbed area to prevent accidentally wiping off the cream and maintain an even temperature for optimal absorption.
Step 4: Verify Numbness Before Tattooing Begins
Verifying the effectiveness of your numbing cream is crucial to ensuring a comfortable tattoo experience. Your goal is to confirm that the cream has done its job in reducing skin sensitivity before your artist begins working.
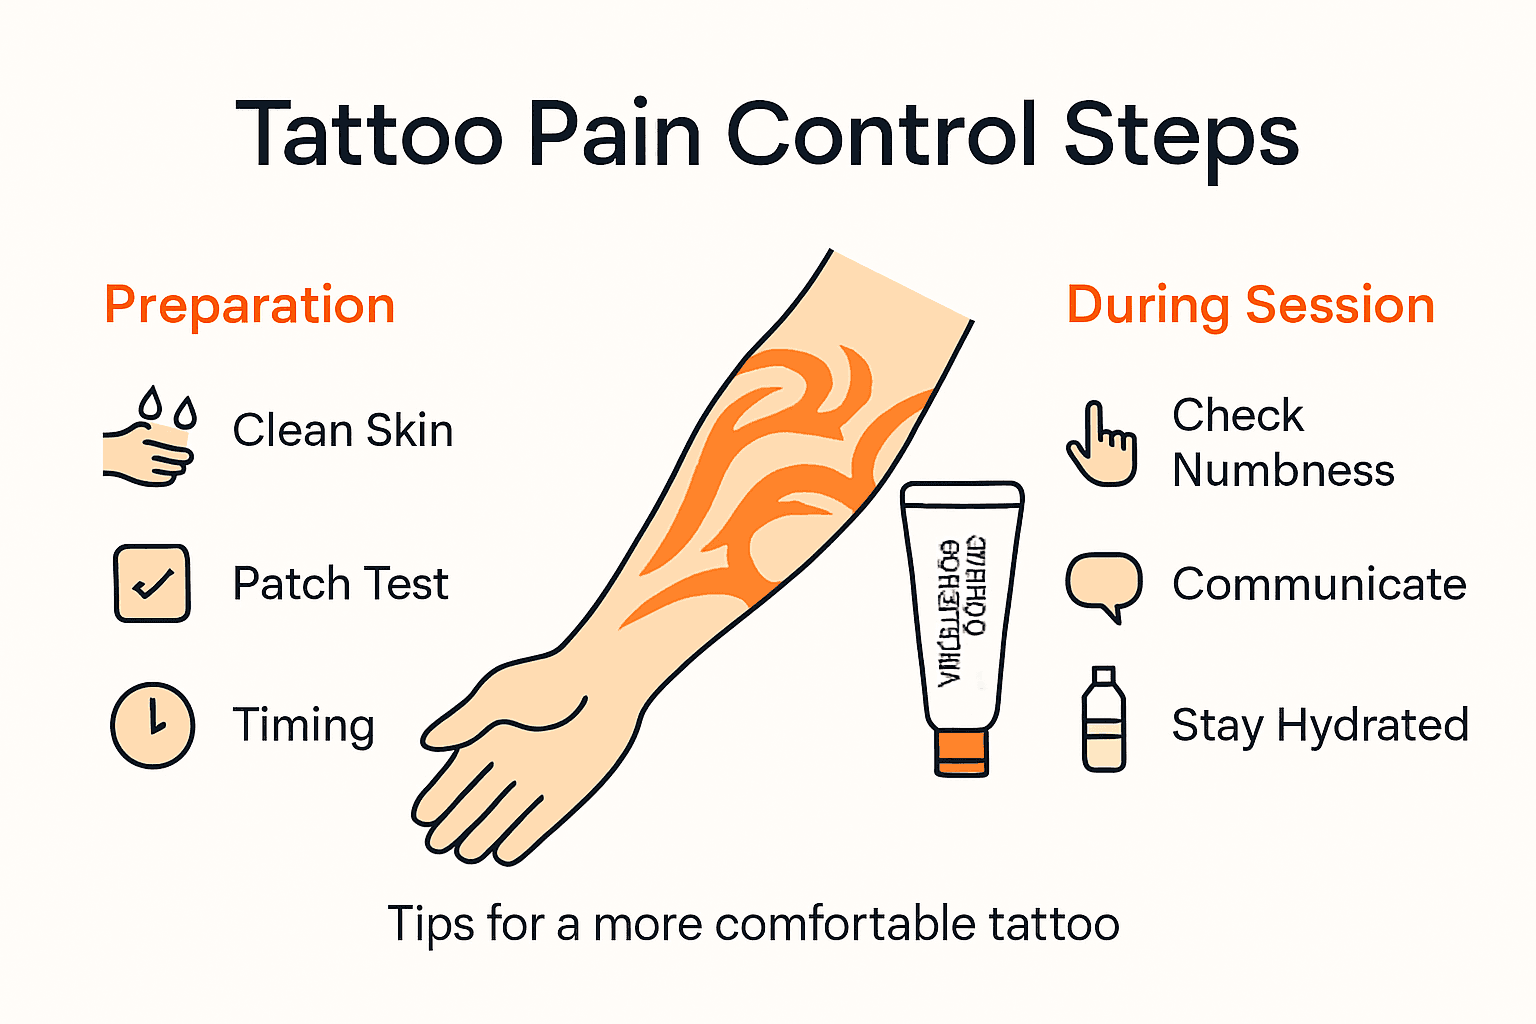
Professional tattoo guidelines recommend checking skin numbness carefully during the 45 to 60 minute waiting period. Ask your tattoo artist to perform a gentle test by lightly touching or using a sterile pinprick on the treated area. A properly numbed skin will feel significantly dulled or have minimal sensation. If you still experience sharp or intense feelings, you might need to wait a bit longer or discuss reapplying the cream.
Communication is key during this verification process. Talk openly with your tattoo artist about your current numbness level and comfort. If the area is not sufficiently numb, your artist can help you determine the next steps. Remember that while you want maximum pain reduction, overusing numbing cream can potentially irritate your skin and affect the tattooing process.
Pro tip: Request your tattoo artist to do a sensitivity check using the back of a sterile needle to accurately assess the numbness without breaking the skin.
Step 5: Monitor Comfort During the Tattoo Process
The tattoo process requires active engagement and communication to ensure your comfort and a positive experience. Your primary goal is to stay aware of your body’s responses and maintain open dialogue with your tattoo artist.
Effective tattoo sessions prioritize continuous client comfort and pain management. Be prepared to communicate openly about your pain levels throughout the session. Request short breaks if you feel overwhelmed or need a moment to reset. Use distractions like music, conversation, or deep breathing techniques to help manage discomfort. Stay hydrated and maintain steady breathing to keep your body relaxed.
Watch for potential physiological responses such as lightheadedness or increased tension. Your tattoo artist should provide a comfortable environment with ergonomic seating and opportunities for rest. If you experience significant discomfort, dizziness, or feel like you might faint, communicate this immediately. Remember that professional artists are trained to monitor your well being and will adjust their approach to keep you comfortable.
Pro tip: Bring a small snack and water to maintain blood sugar levels and hydration during longer tattoo sessions, which can help prevent fainting and reduce overall discomfort.
This summary table compares ways to monitor and improve comfort during tattoo sessions:
| Strategy | Best Use | Key Benefit |
|---|---|---|
| Communication | At any discomfort | Immediate issue response |
| Short breaks | During long sessions | Reduces physical stress |
| Hydration & snacks | Extended appointments | Prevents fainting, fatigue |
| Distraction methods | Ongoing pain | Helps relax and reduce pain |
Experience a Pain-Free Tattoo Session with Expert-Recommended Numbing Creams
The article highlights common challenges around managing pain during tattooing such as finding the right numbing cream with effective lidocaine content and ensuring proper application for maximum effect. If you want to eliminate discomfort and confidently enjoy your tattoo appointment, choosing a trusted cream like TKTX or Dermacain can make all the difference. These products offer up to 3 hours of guaranteed numbness, giving you peace of mind as the needles work their magic.

Take control of your tattoo pain today by visiting https://buytktx.online where we ship across all of Europe with free shipping on orders over 30 Euro. We stand behind our solutions with a satisfaction guarantee—if you are not happy, simply return the product for a full refund. Don’t wait to improve your tattoo experience. Explore our collection now to find the ideal numbing cream and prepare your skin like a pro for a comfortable, pain-managed session.
Frequently Asked Questions
How can I choose the right numbing cream for my tattoo?
Choosing the right numbing cream involves checking the lidocaine concentration, aiming for options with 4% to 5% for effective pain relief. Always verify the ingredient list for allergens and conduct a patch test 24 hours prior to your appointment to ensure compatibility.
When should I apply the numbing cream before getting a tattoo?
Apply the numbing cream 60 to 90 minutes before your tattoo session begins to ensure it has adequate time to take effect. Use an airtight cover, like plastic wrap, to enhance absorption and maximize its numbing power.
How do I verify that the numbing cream is working?
To confirm the effectiveness of the numbing cream, ask your tattoo artist to lightly test the area for sensation during the waiting period. If you still feel sharp pain, you may need to wait longer before starting or reapply the cream if necessary.
What should I do if I start feeling uncomfortable during my tattoo session?
If you feel discomfort during your tattoo, communicate promptly with your artist about your pain level. Request short breaks to reset, and use distractions like music or deep breathing to help manage your comfort.
How can I prepare my skin for the best numbing results?
Prepare your skin by cleaning the area with mild antibacterial soap and shaving if necessary to enhance absorption of the cream. After cleaning, ensure the area is completely dry before applying the numbing cream to promote effectiveness.
What should I bring to my tattoo session to help with comfort?
Bring water and a small snack to your tattoo session to maintain hydration and blood sugar levels. This can help prevent fainting and overall discomfort, especially during longer appointments.


