

Finding the right numbing cream can make your next tattoo session in Central Europe feel less like a test of endurance and more like an experience you look forward to. With so many products promising relief, choosing one that protects your comfort and your skin is key. When you understand how lidocaine-based creams offer the most effective topical anesthesia for tattoos, you can confidently prioritize both pain control and a smooth result.
Table of Contents
- Step 1: Select The Right Tattoo Numbing Cream
- Step 2: Prepare Your Skin For Application
- Step 3: Apply Tattoo Numbing Cream Safely
- Step 4: Confirm Numbness Before Tattooing
- Step 5: Monitor Comfort During Your Session
Quick Summary
| Key Point | Explanation |
|---|---|
| 1. Choose lidocaine-based creams | Lidocaine is the most effective active ingredient for numbing, ensuring optimal pain relief during tattoos. |
| 2. Prepare your skin properly | Cleansing the skin thoroughly enhances absorption of the numbing cream and minimizes irritation during your session. |
| 3. Apply cream evenly and safely | A thick, even layer of numbing cream, covered with plastic wrap, maximizes numbing effects and protects your skin. |
| 4. Confirm numbness before tattooing | Testing numbness through pinch or temperature checks ensures effective pain management before the tattoo begins. |
| 5. Communicate during the session | Ongoing communication with your tattoo artist helps manage pain levels and ensures a more comfortable experience overall. |
Step 1: Select the right tattoo numbing cream
Choosing the perfect tattoo numbing cream can transform your ink experience from potentially painful to surprisingly comfortable. Your goal is to find a numbing solution that provides effective pain relief without compromising your tattoo’s quality or your skin’s health.
When selecting a numbing cream, prioritize products containing lidocaine as the primary active ingredient. Lidocaine-based creams offer the most effective topical anesthesia for tattoo procedures. Here are key factors to consider:

Here’s a quick comparison of common tattoo numbing cream ingredients and their effectiveness:
| Ingredient | Typical Uses | Maximum Numbing Level | Allergy Risk |
|---|---|---|---|
| Lidocaine | Tattoo, injections | Very high (80-90%) | Low |
| Prilocaine | Minor procedures | Moderate (60-70%) | Moderate |
| Benzocaine | Surface irritation | Mild (40-50%) | High |
| Tetracaine | Medical procedures | Moderate (60-80%) | Moderate |
- Active Ingredients: Look for creams with 4-5% lidocaine concentration
- pH Balance: Select creams with a pH below 7 to prevent skin irritation
- Skin Compatibility: Choose hypoallergenic formulas if you have sensitive skin
- Application Time: Opt for creams that work within 20-30 minutes before tattoo session
Professional tattoo artists recommend testing the numbing cream on a small skin patch 24 hours before your appointment to check for potential allergic reactions. This simple precaution can help you avoid unexpected complications during your tattoo session.
Pro tip: Consult with your tattoo artist about their recommended numbing cream brands and application techniques to ensure optimal pain management and tattoo quality.
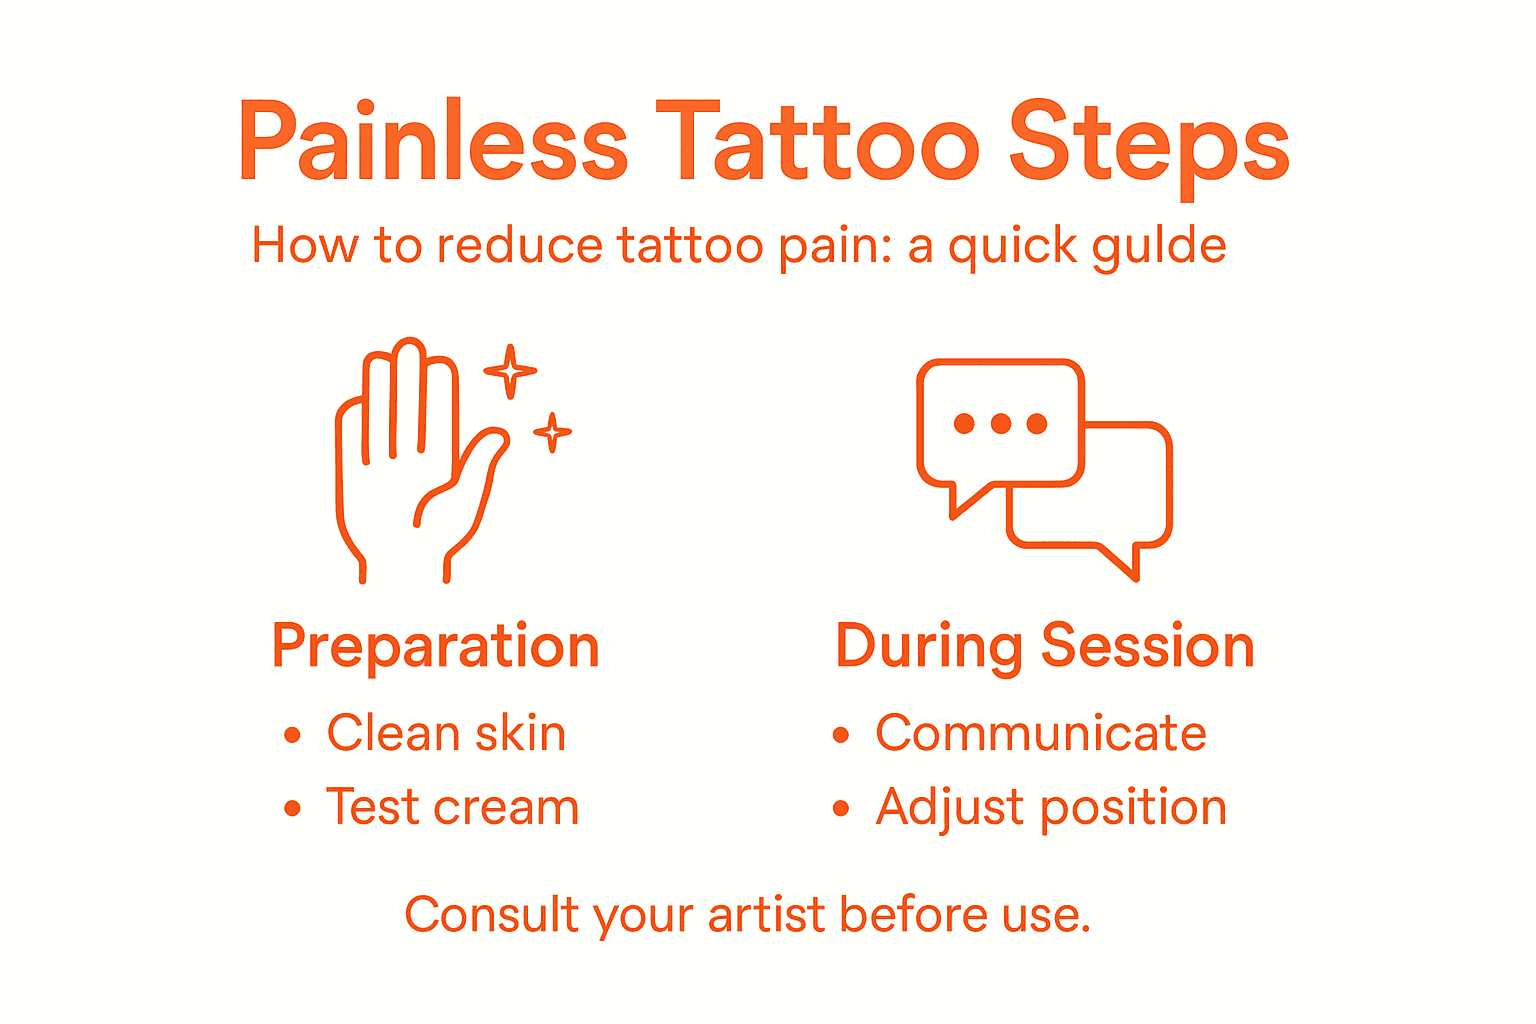
Step 2: Prepare your skin for application
Before applying numbing cream, proper skin preparation is crucial to ensure maximum effectiveness and minimize potential complications during your tattoo session. The right preparation can significantly enhance the cream’s performance and your overall comfort.
Skin preparation involves a detailed cleansing process that sets the stage for optimal numbing cream absorption. Follow these essential steps:
- Clean Thoroughly: Use mild antibacterial soap and warm water
- Remove Obstacles: Eliminate oils, lotions, and skin barriers
- Hair Management: Shave the area if necessary for direct skin contact
- Dry Completely: Pat the skin dry with a clean towel
Pay special attention to the targeted tattoo area. Avoid using moisturizers or oily products that might create a barrier between the numbing cream and your skin. The goal is to create a clean, receptive surface that allows the cream to penetrate effectively and provide maximum pain relief.
Proper skin preparation can increase numbing cream effectiveness by up to 40%, making your tattoo experience significantly more comfortable.
Pro tip: Test the numbing cream on a small patch of skin 24 hours before your tattoo to check for potential allergic reactions and ensure optimal skin compatibility.
Step 3: Apply tattoo numbing cream safely
Applying numbing cream correctly is critical to ensuring a comfortable and effective tattoo experience. Your goal is to maximize pain relief while maintaining safe application techniques that protect both your skin and the tattoo process.
Safe application of numbing cream requires precise techniques that go beyond simple surface-level spreading. Here’s a comprehensive approach to applying your numbing cream:
- Wear Disposable Gloves: Prevent accidentally numbing your own fingers
- Apply Thick Layer: Cover the entire tattoo area generously
- Use Occlusive Dressing: Cover with plastic wrap to enhance absorption
- Time Management: Keep cream on for 45-90 minutes maximum
When applying the cream, ensure you create an even, thick layer that completely covers the intended tattoo area. The thickness matters - a thin application won’t provide sufficient numbness. Be careful not to miss any spots, as uneven coverage can result in inconsistent pain relief during your tattoo session.
Proper numbing cream application can reduce tattoo discomfort by up to 80%, transforming your ink experience from potentially painful to surprisingly comfortable.
Pro tip: Always conduct a preliminary skin patch test 24 hours before your tattoo to verify no allergic reactions and confirm your skin’s compatibility with the numbing cream.
Step 4: Confirm numbness before tattooing
Before your tattoo artist begins work, you need to verify that the numbing cream has effectively desensitized your skin. This crucial step ensures you’ll have a comfortable and pain-free tattoo experience.
Pain management during tattoos requires careful numbness verification to guarantee optimal comfort. Here’s how to test your skin’s numbness:
- Gentle Pinch Test: Lightly pinch the treated area
- Temperature Sensitivity Check: Touch with cool or warm object
- Light Pressure Assessment: Press skin with fingertip
- Compare Treated vs. Untreated Skin: Note sensation differences
Communicate with your tattoo artist about your numbness level. Some areas might feel more or less numb, which can impact the tattooing process. If you’re experiencing uneven numbness, consider reapplying the cream or adjusting your approach.
Proper numbness confirmation can prevent unexpected pain and ensure a smoother, more comfortable tattoo experience.
Pro tip: Ask your tattoo artist to perform a small test line to confirm your skin’s actual pain tolerance, even after numbing cream application.
Step 5: Monitor comfort during your session
During your tattoo, maintaining ongoing comfort is crucial for both your experience and the quality of your artwork. Your ability to communicate and manage pain can significantly impact the entire tattooing process.
Client comfort requires active communication and strategic pain management throughout the tattoo session. Here are key strategies to help you stay comfortable:
- Communicate Openly: Share pain levels with your artist
- Request Frequent Breaks: Rest when feeling overwhelmed
- Stay Hydrated: Drink water before and during the session
- Use Distraction Techniques: Listen to music or engage in conversation
- Practice Controlled Breathing: Use relaxation techniques
Body positioning matters as much as communication. Find a comfortable position that minimizes tension and allows your artist to work effectively. Adjust your posture periodically to prevent muscle strain and reduce discomfort.
For easy reference, here is a summary of pain management strategies during your tattoo session:
| Strategy | Benefit | When to Use | Involvement |
|---|---|---|---|
| Open communication | Adjusts pain approach | Throughout session | Client & artist |
| Breaks during tattoo | Prevents exhaustion | As needed | Client request |
| Hydration | Maintains energy | Before & during | Client |
| Distraction techniques | Reduces anxiety | During procedure | Client |
| Controlled breathing | Lowers pain perception | At painful moments | Client |
Effective pain management is a collaborative process between you and your tattoo artist.
Pro tip: Eat a light, nutritious meal before your session and bring a small snack to maintain your energy levels and help manage potential pain or lightheadedness.
Experience Comfortable Tattooing with Professional Numbing Creams
Pain management is the key challenge covered in this article and your goal is to achieve a painless tattoo session through effective numbing. You want reliable solutions that provide strong, long-lasting anesthesia without risking skin irritation or uneven numbness. This is where trusted products with lidocaine like TKTX and Dermacain come in to provide guaranteed pain relief for up to three hours.
Take control of your tattoo experience by choosing from our Featured Products – TKTX obchod that specifically target those pain points mentioned such as safe application, uniform numbness, and skin compatibility.

Don’t settle for discomfort when you can confidently manage pain with creams trusted across Europe. Visit https://buytktx.online now to order your numbing cream with free shipping over 30 Euro and a money-back satisfaction guarantee. Start your journey to a comfortable tattoo today.
Frequently Asked Questions
What should I look for when choosing a tattoo numbing cream?
Choosing a tattoo numbing cream involves looking for a product with lidocaine as the primary active ingredient, ideally at a concentration of 4-5%. Ensure the cream is hypoallergenic and has a pH below 7 to avoid skin irritation. Check for compatibility by testing a small patch of skin 24 hours before your appointment.
How can I prepare my skin for tattoo numbing cream application?
To prepare your skin, clean the area thoroughly with mild antibacterial soap and warm water, and dry it completely. Remove oils and lotions that could create a barrier to the numbing cream. Aim for a clean surface to maximize the cream’s absorption and effectiveness.
How do I apply tattoo numbing cream correctly?
Apply a thick layer of tattoo numbing cream over the entire area to be tattooed, ensuring even coverage. Cover the area with plastic wrap for enhanced absorption, and keep the cream on for no longer than 45-90 minutes. Use gloves during application to avoid numbing your fingers, ensuring a safe process.
What steps can I take to confirm numbness before my tattoo session?
To confirm numbness, lightly pinch the treated area, touch it with a cool or warm object, and compare sensations between the treated and untreated skin. Communicate with your tattoo artist about how numb you feel to ensure you’re ready for the tattooing process. Perform this check while sitting comfortably before the artist begins.
How can I manage discomfort during my tattoo session?
Managing discomfort during a tattoo session involves open communication with your artist about pain levels and requesting breaks as needed. Stay hydrated by drinking water before and during the session, and practice distraction techniques like listening to music. Adjust your body position frequently to minimize tension and increase comfort.
What should I do if the numbing cream is not providing enough relief?
If the numbing cream is not providing sufficient relief, discuss this with your tattoo artist, as they may recommend a reapplication or a different approach. Always ensure even coverage with the numbing cream and verify its effectiveness before the tattooing process begins. This will help maximize comfort and pain management.