
Finding reliable numbing solutions for tattoo sessions can be challenging when every Central European artist aims to deliver both comfort and flawless results. Client satisfaction depends not only on skillful artistry but also on strict hygiene protocols and effective pain management. This guide offers actionable steps to help you create a sterile workspace, safeguard client health, and master numbing cream application for a safer, smoother tattoo experience.
Table of Contents
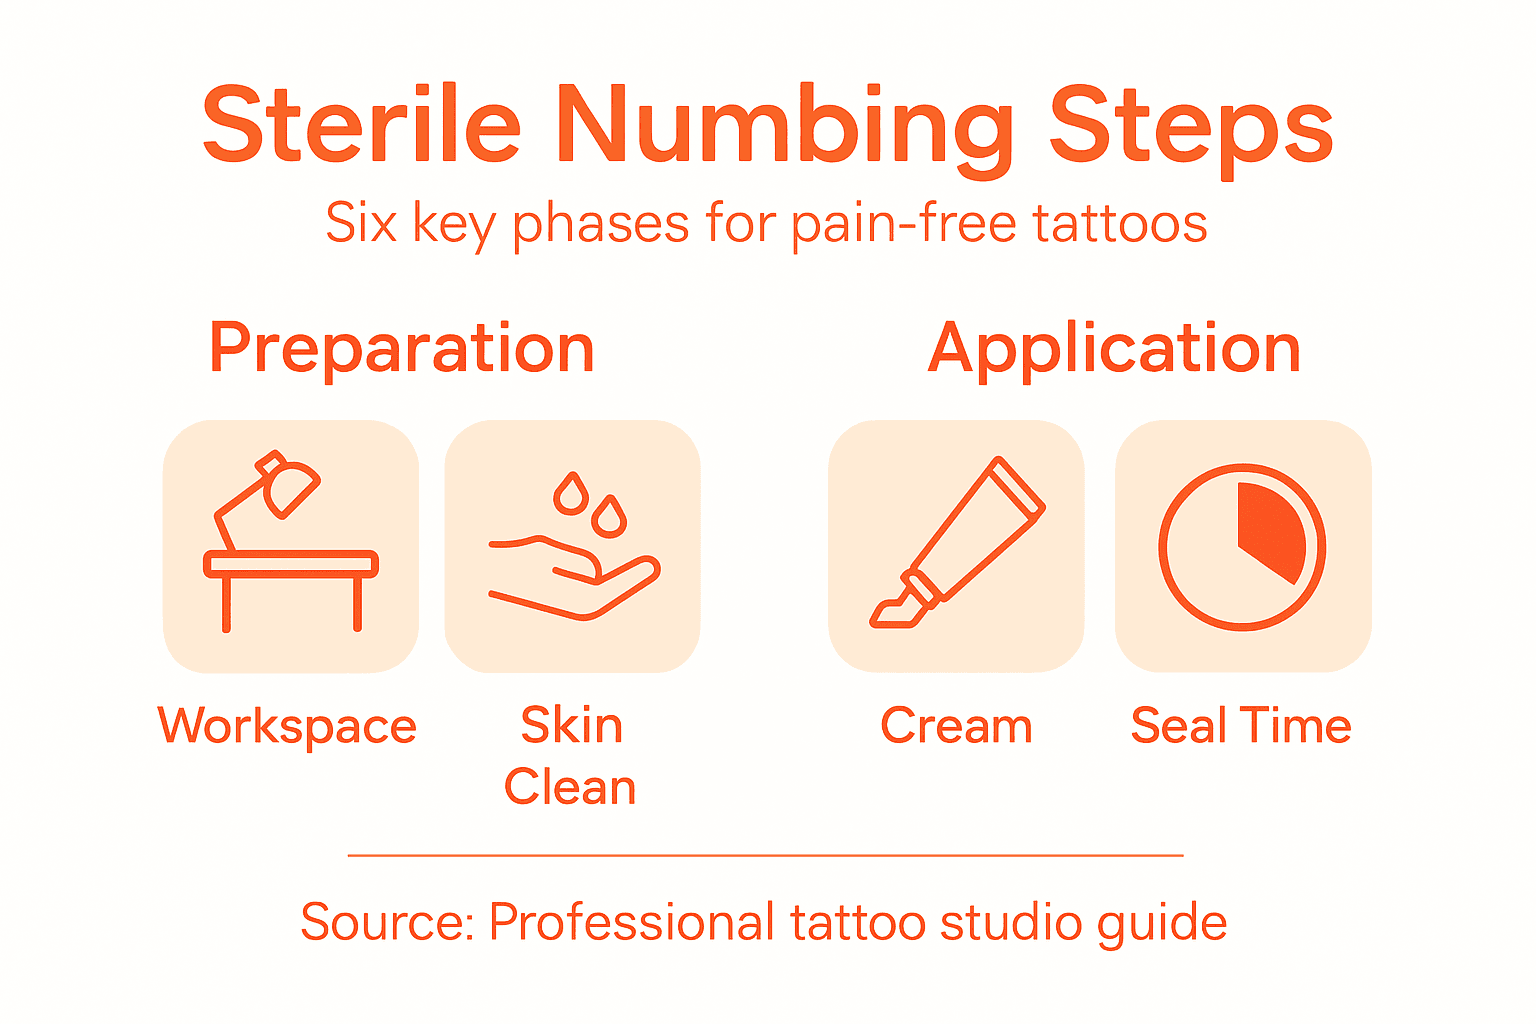
- Step 1: Prepare The Sterile Workspace
- Step 2: Clean And Disinfect The Skin Area
- Step 3: Apply Numbing Cream Correctly
- Step 4: Seal And Time The Numbing Process
- Step 5: Remove Cream And Check Numbness
- Step 6: Maintain Sterility During Tattoo
Quick Summary
| Key Point | Explanation |
|---|---|
| 1. Maintain a Sterile Workspace | Sanitize work surfaces with medical-grade disinfectants to prevent infection during tattoo procedures. |
| 2. Proper Skin Disinfection is Essential | Use professional-grade antiseptics to cleanse the skin area thoroughly before tattooing to minimize infection risks. |
| 3. Apply Numbing Cream Effectively | Use a uniform layer of numbing cream, covered with plastic wrap, to enhance pain management during the session. |
| 4. Ensure Complete Numbing Before Tattooing | Check the skin’s sensitivity and ensure complete removal of the cream for optimal tattoo application. |
| 5. Follow Strict Sterility Protocols | Monitor hygiene practices closely during the tattoo process to ensure ongoing client and artist safety. |
Step 1: Prepare the sterile workspace
A sterile workspace is your foundational defense against potential infection during tattoo procedures. Creating a meticulously clean environment protects both the artist and client from potential cross-contamination risks.
To set up your professional sterile zone, start by thoroughly sanitizing all work surfaces with medical-grade disinfectant. Wipe down every inch of your tattoo station using hospital-grade antiseptic solutions that eliminate 99.9% of bacteria. Focus specifically on your work table, chair surfaces, equipment trays, and any tools you’ll be using during the tattooing process.
Essential workspace preparation involves multiple critical steps:
- Clear all unnecessary items from your immediate work area
- Lay out clean, disposable medical-grade paper or protective coverings
- Arrange sterile equipment within easy reach
- Ensure proper lighting for precise work
- Keep antiseptic wipes and additional cleaning materials nearby
A sterile workspace is not just cleanliness - it’s a professional commitment to client safety.
Prepare your personal protective equipment before starting. This includes latex-free medical gloves, a fresh face mask, and any additional protective gear required for your specific tattooing environment. Organize your workspace methodically, creating a logical flow that minimizes unnecessary movement and potential contamination risks.
Pro Tip: Invest in a dedicated UV sterilization box to ensure additional tool sanitization between client sessions.
Here’s a comparison of common tattoo sterilization tools and their primary functions:
| Tool | Main Function | Typical Use Location |
|---|---|---|
| UV Sterilization Box | Kills bacteria on tools | Studio equipment areas |
| Autoclave Machine | Uses steam for deep sanitization | Tattoo shops and clinics |
| Disposable Barriers | Prevents surface cross-contamination | Work tables and equipment |
| Hospital Disinfectant | Eliminates surface bacteria and viruses | Workstations and chairs |
Step 2: Clean and disinfect the skin area
Ensuring proper skin preparation is critical for preventing infections and creating a safe tattooing environment. Approved skin disinfection protocols are fundamental to maintaining client health and safety during tattoo procedures.
Begin by thoroughly examining the skin area for any cuts, abrasions, or existing skin conditions that might compromise the disinfection process. Select a professional-grade antiseptic solution specifically designed for pre-tattoo skin preparation. Carefully follow these precise cleaning steps:
- Clean the entire target area using disposable medical wipes
- Remove any oils, dirt, or residue from the skin surface
- Use circular motions to ensure complete coverage
- Apply disinfectant with single-use, sterile materials
- Allow the disinfectant to air dry completely
Proper skin disinfection is your first line of defense against potential infections.
Pay special attention to the technique when applying disinfectant. Avoid excessive rubbing that might irritate the skin, and ensure you cover the entire area that will be tattooed, plus a small margin around the intended design. Use medical-grade antiseptic solutions that are specifically approved for direct skin contact and designed to eliminate harmful microorganisms.
Below is a quick reference for skin reactions and recommended actions before tattooing:
| Skin Observation | Possible Cause | Recommended Action |
|---|---|---|
| Redness or rash | Irritation or allergy | Delay tattoo, consult client |
| Minor abrasion | Recent minor injury | Postpone until fully healed |
| Raised bumps or blisters | Infection present | Decline procedure, refer out |
| Dry, intact skin | Normal, good to proceed | Continue with preparation |
Pro Tip: Always keep multiple types of skin-safe disinfectants in your kit to accommodate different skin types and potential sensitivities.
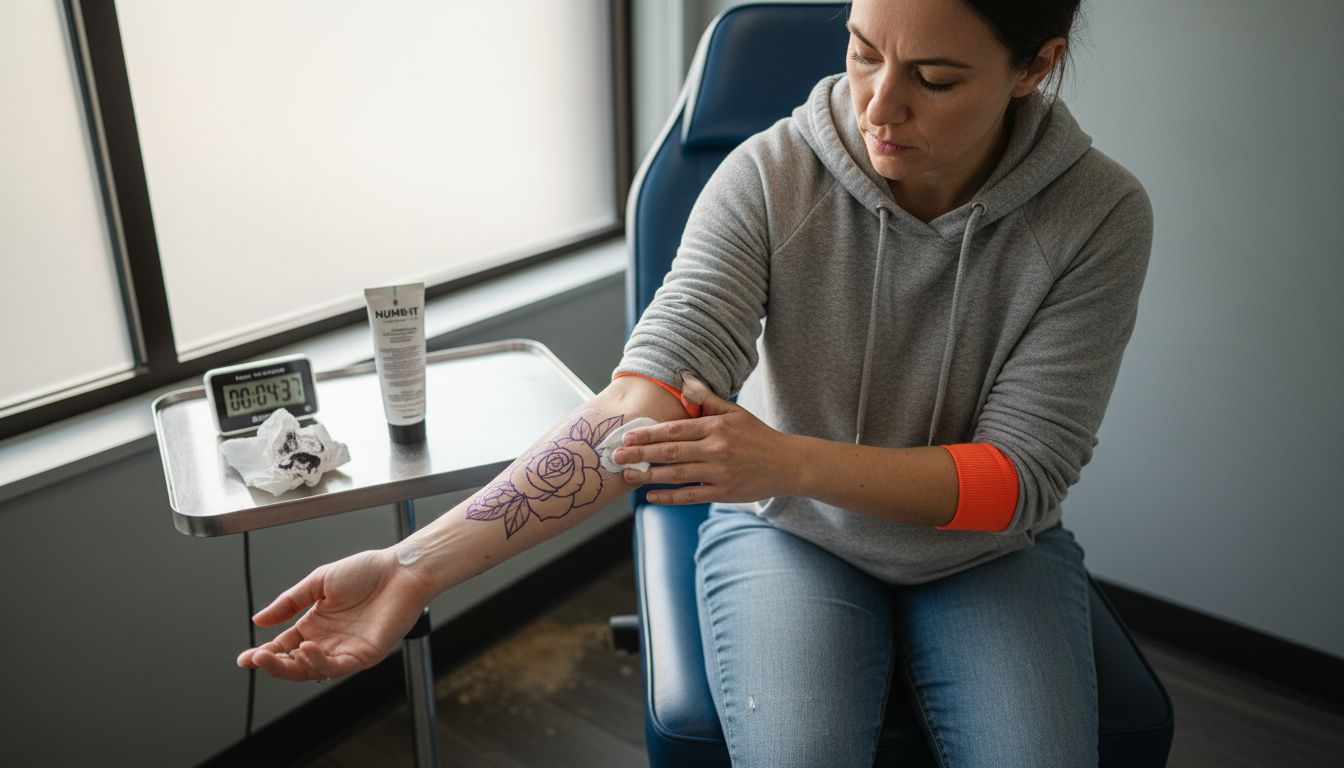
Step 3: Apply numbing cream correctly
Mastering the correct numbing cream application technique is crucial for achieving maximum pain reduction during your tattoo session. Precise application methods can dramatically improve your pain management strategy.
Before beginning, conduct a critical patch test 24 hours prior to check for potential skin sensitivity or allergic reactions. Thoroughly cleanse and prepare the tattoo area by removing any oils, dirt, or residue. If the area has significant hair, carefully shave it to ensure optimal cream absorption and even application.
Follow these key application steps:
- Clean the skin with antiseptic solution
- Dry the area completely
- Apply a thick, uniform layer of numbing cream
- Spread cream 2-3 mm thick over entire tattoo area
- Cover with airtight plastic wrap
- Allow 60-90 minutes for maximum absorption
Proper numbing cream application transforms your tattoo experience from painful to painless.
Pay close attention to coverage technique. Extend the cream slightly beyond the planned tattoo design to ensure complete pain management. The plastic wrap helps trap body heat, which significantly enhances the cream’s penetration and numbing effectiveness.
Pro Tip: Always keep a timer nearby to track exact numbing cream application time and prevent over-absorption.
Step 4: Seal and time the numbing process
Precise timing and sealing are critical to maximizing the effectiveness of your numbing cream application. Numbing process techniques play a pivotal role in ensuring optimal pain management during tattoo procedures.
After applying the numbing cream, create an airtight seal using medical-grade plastic wrap. This technique helps trap body heat and increases the cream’s absorption rate. Ensure the wrap is smooth and completely covers the cream-applied area without creating air bubbles or wrinkles that might interrupt the absorption process.
Follow these critical sealing and timing steps:
- Check plastic wrap for complete coverage
- Maintain a consistent body temperature
- Avoid excessive movement of the wrapped area
- Keep track of exact application time
- Set a timer for 60-90 minutes
- Prevent direct sunlight exposure
Proper sealing transforms numbing cream from a surface application to a deep, effective pain management solution.
Monitor the wrapped area periodically to ensure the plastic remains secure and the cream stays evenly distributed. Remove the wrap carefully just before your tattoo session begins, and gently blot any excess cream with a clean, sterile paper towel.
Pro Tip: Use a digital timer with a vibrate function to discreetly track your numbing cream application without constantly checking the clock.
Step 5: Remove cream and check numbness
The final preparation stage involves carefully removing the numbing cream and assessing the skin’s desensitization level before your tattoo session begins. Proper cream removal techniques are critical for ensuring a smooth, pain-free tattooing experience.
Remove the plastic wrap gently and set it aside. Use a clean, sterile paper towel to thoroughly wipe away all cream residue. Be meticulous in your removal process to prevent any interference with tattoo ink application or needle movement. The goal is to create a clean, uniform surface for your tattoo artist.
Critical assessment steps include:
- Carefully examine the skin for complete cream removal
- Test skin sensitivity by light touch
- Check for any remaining cream patches
- Ensure skin surface is completely dry
- Verify numbness across entire tattoo area
- Look for any skin irritation or unusual reactions
Proper cream removal is the gateway between preparation and a successful tattoo experience.
Communicate directly with your tattoo artist about the numbness level. Perform a quick sensation test by having them lightly touch the area with a clean, sterile implement. If the area feels sufficiently desensitized, you’re ready to proceed with confidence.
Pro Tip: Have a small handheld mirror available to help you and your tattoo artist thoroughly inspect the numbed area from multiple angles.
Step 6: Maintain sterility during tattoo
Sterility is the cornerstone of a safe and professional tattoo experience. Sterilization protocols in tattooing are critical for protecting both the client and the artist from potential health risks.
Observe your tattoo artist’s hygiene practices carefully throughout the procedure. This means watching for consistent use of personal protective equipment, frequent glove changes, and meticulous handling of sterile equipment. Your artist should demonstrate a clear commitment to maintaining a clean working environment.
Key sterility maintenance steps include:
- Wear disposable gloves at all times
- Use individually packaged, sterile needles
- Avoid touching non-sterile surfaces
- Change gloves between significant procedure steps
- Keep work surfaces constantly disinfected
- Isolate and immediately dispose of contaminated materials
Sterility isn’t just a practice - it’s a fundamental commitment to client safety.
Monitor equipment handling throughout the tattoo session. Watch for proper techniques such as opening sterile packages in front of you, using barrier films on equipment, and immediately disposing of used materials in designated biohazard containers.
Pro Tip: If you notice any breach in sterile technique, respectfully ask your tattoo artist about their sterilization process.
Experience Pain-Free Tattoos with Trusted Numbing Creams
The detailed guide on the sterile numbing process highlights how essential proper numbing cream application and timing are to a comfortable tattoo experience. If you want to avoid pain and ensure your skin remains perfectly prepared and desensitized for up to three hours, choosing the right numbing cream is key. Many face the challenge of finding effective products that guarantee deep numbing without irritation or compromised sterility.
At BuyTKTX Online, we specialize in premium TKTX and Dermacain tattoo numbing creams backed by a satisfaction guarantee across Europe. Enjoy up to 3 hours of reliable pain relief that complements every step of your sterile preparation. We offer free shipping on orders over 30 Euro and a full money-back policy if you are not completely satisfied.
Maximize your tattoo safety and comfort by selecting trusted products designed specifically for professional use.
Enhance your numbing routine today and make your next tattoo pain-free with BuyTKTX Online.
Explore our numbing creams and start your smooth tattoo journey now.

Frequently Asked Questions
How do I prepare a sterile workspace for tattooing?
To prepare a sterile workspace, start by sanitizing all surfaces with medical-grade disinfectant. Ensure you have clean, disposable coverings and organize your tattoo equipment so it is easily accessible, minimizing any unnecessary movement during the procedure.
What is the best way to clean and disinfect the skin before a tattoo?
The best way to clean and disinfect the skin is to use disposable medical wipes and a professional-grade antiseptic solution. Clean the entire target area using circular motions to ensure full coverage, then allow the disinfectant to air dry completely before tattooing.
How should I apply numbing cream for a pain-free tattoo?
Apply a thick, uniform layer of numbing cream to the tattoo area, ensuring it’s about 2-3 mm thick. Cover it with airtight plastic wrap and allow it to absorb for 60-90 minutes to maximize effectiveness before starting the tattooing process.
What steps should I take to remove the numbing cream before tattooing?
To remove the numbing cream, gently take off the plastic wrap and thoroughly wipe the cream away with a clean, sterile paper towel. Ensure the skin is completely dry and check for any remaining cream or irritation before proceeding with the tattoo.
How can I ensure sterility during the tattoo procedure?
Ensure sterility during the tattoo by watching your artist maintain hygiene practices like wearing disposable gloves and using individually packaged, sterile needles. Confirm that surfaces remain disinfected and that equipment is only touched with sterile gloves throughout the session.
What should I do if I notice a breach in sterile technique during my tattoo?
If you notice a breach in sterile technique, calmly ask your tattoo artist about their sterilization process. Maintaining open communication helps ensure your safety and addresses any concerns during the tattoo procedure.


