
Getting a tattoo in Central Europe should be exciting, not stressful. Many tattoo enthusiasts and first-time clients look for ways to cut down on pain and make the process more comfortable. By focusing on the right numbing supplies like TKTX and Dermacain, you can enjoy a smoother session with effective topical anesthetic creams containing lidocaine at a 5 percent concentration. This guide will help you choose and use numbing solutions with confidence for your next tattoo.
Table of Contents
- Step 1: Gather Required Numbing Supplies
- Step 2: Clean And Dry The Tattoo Area Thoroughly
- Step 3: Apply Numbing Cream Evenly To The Skin
- Step 4: Cover And Wait For Maximum Numbing Effect
- Step 5: Remove Cream And Verify Numbness Before Tattooing
Quick Summary
| Key Point | Explanation |
|---|---|
| 1. Gather essential numbing supplies | Collect high-quality lidocaine-based cream, plastic wrap, and other tools for effective pain reduction during your tattoo session. |
| 2. Clean and dry the skin accurately | Use mild soap and lukewarm water to prepare the tattoo area, ensuring a dry surface for optimal cream absorption and effectiveness. |
| 3. Apply numbing cream evenly | Use a thick, even layer of numbing cream over the entire area plus a margin to guarantee consistent pain relief throughout the tattooing process. |
| 4. Cover and wait for numbing effect | Seal the area with plastic wrap and allow 40-60 minutes for the cream to penetrate fully for enhanced numbness. |
| 5. Verify numbness before tattooing | Test skin sensitivity gently to ensure complete numbness; communicate with your tattoo artist if additional numbing is needed. |
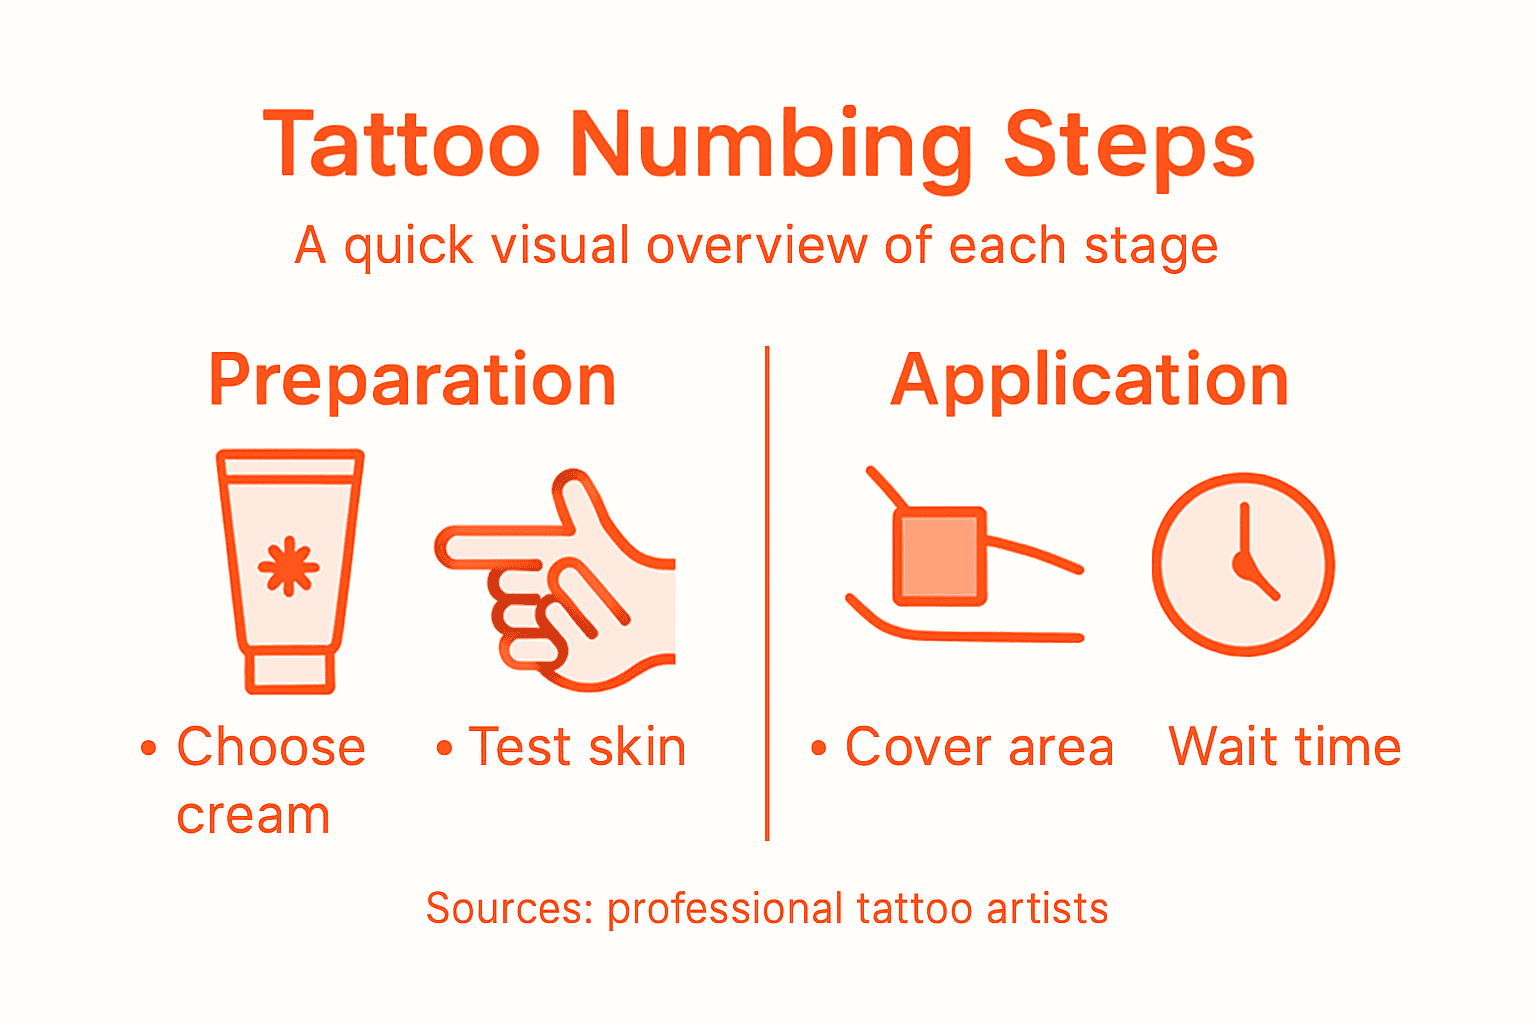
Step 1: Gather required numbing supplies
Preparing for a pain-free tattoo experience starts with assembling the right numbing supplies. You’ll want to collect everything necessary to ensure minimal discomfort during your tattoo session.
When selecting numbing supplies, focus on obtaining high-quality topical anesthetic creams that will effectively reduce pain. Your essential supplies should include:
- Lidocaine-based numbing cream (5% concentration recommended)
- Plastic wrap for occlusion
- Mild soap for skin preparation
- Clean cotton swabs or applicators
- Disposable gloves
- Clean towel for area coverage
Choosing the right numbing cream is crucial. Look for products specifically designed for tattoo procedures that contain lidocaine as the primary active ingredient. These creams are formulated to provide targeted pain relief and skin protection.
Here’s a quick reference comparing numbing cream ingredients for tattoo preparation:
| Active Ingredient | Typical Concentration | Skin Sensitivity | Uses in Tattoos |
|---|---|---|---|
| Lidocaine | 5% | Low irritation | Most common choice |
| Prilocaine | 2-5% | Moderate risk | Used if lidocaine allergy |
| Benzocaine | 5-20% | Higher irritation | Rarely used for tattoos |
| Tetracaine | 0.5-2% | Can irritate | Often blended with lidocaine |
Proper skin preparation and numbing can significantly reduce discomfort during your tattoo session.
Ensure you select a cream that is hypoallergenic and designed for sensitive skin. Test a small patch of skin 24 hours before your tattoo to check for potential allergic reactions.
Pro tip: Always consult with your tattoo artist about the numbing cream you plan to use, as some artists have specific recommendations or restrictions.
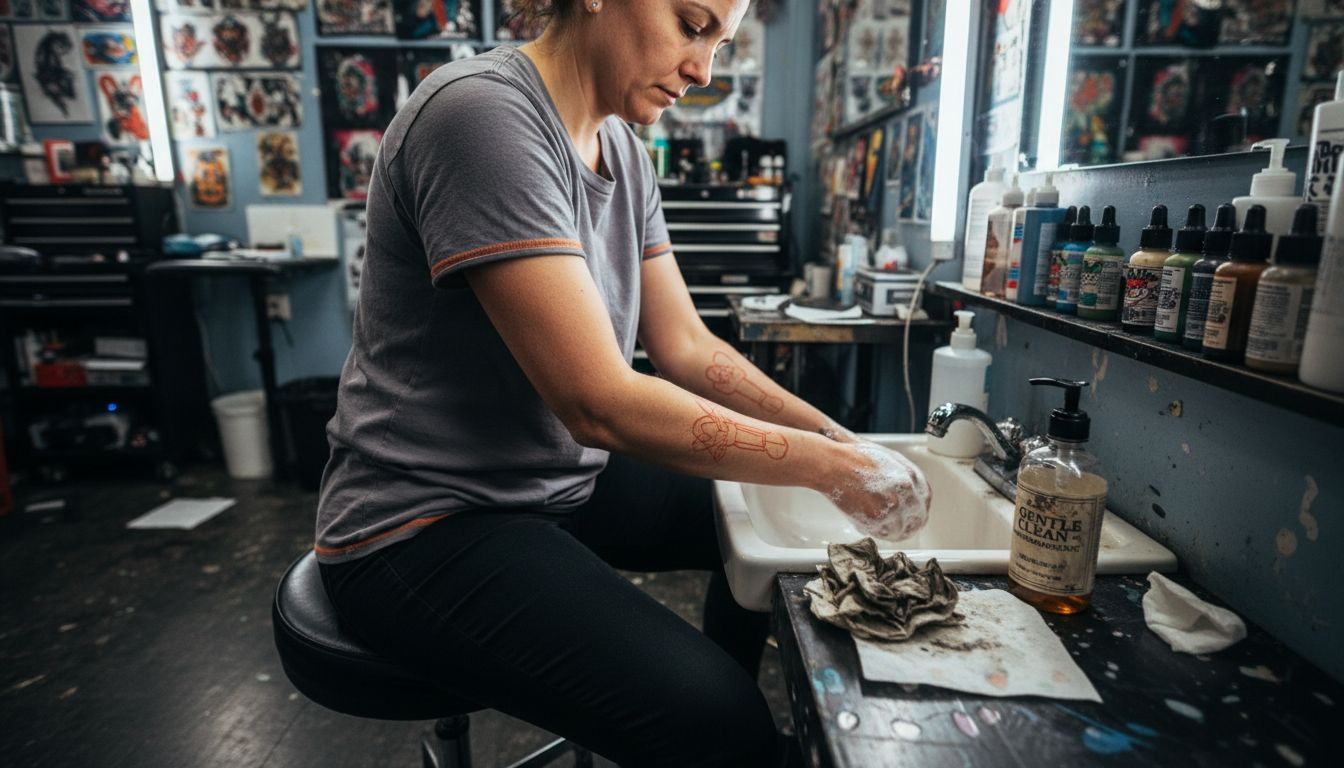
Step 2: Clean and dry the tattoo area thoroughly
Before applying any numbing cream, you need to meticulously prepare your skin by cleaning and drying the tattoo area. This crucial step ensures maximum effectiveness of the numbing solution and minimizes potential complications.
Start by washing the area with gentle skin cleaning techniques that remove dirt, oils, and bacteria. Follow these specific steps:
- Wash hands thoroughly before touching the tattoo area
- Use mild, unscented soap
- Clean the area with lukewarm water
- Pat dry with a clean, soft towel
- Avoid rubbing the skin aggressively
The goal is to create a clean, dry surface that allows the numbing cream to adhere properly and be absorbed effectively. Proper skin preparation reduces infection risks and ensures optimal cream performance.
A clean skin surface is fundamental to a successful and comfortable tattoo experience.
Choose a soap that is hypoallergenic and fragrance-free to minimize potential skin irritation. Ensure the area is completely dry before applying any numbing cream, as moisture can interfere with the cream’s absorption and effectiveness.
The following table summarizes the key effects of proper skin cleaning before numbing cream application:
| Cleaning Action | Reason for Importance | Impact on Tattoo Experience |
|---|---|---|
| Hand washing | Reduces germs on hands | Lowers infection risk |
| Use mild, unscented soap | Avoids skin irritation | Improves cream absorption |
| Pat dry with towel | Prevents excess moisture | Ensures even numbness |
Pro tip: Use a fresh, disposable paper towel for drying to prevent introducing any additional bacteria to the clean skin surface.
Step 3: Apply numbing cream evenly to the skin
Now that your skin is clean and prepped, it’s time to apply the numbing cream strategically to ensure maximum pain relief during your tattoo session. The goal is to create a uniform layer of protection that will minimize discomfort.
When applying the cream, focus on precise application techniques that guarantee complete and even coverage. Here are the key steps:
- Wash your hands thoroughly before application
- Use clean, disposable gloves for extra hygiene
- Apply a thick, generous layer of cream
- Cover the entire tattoo area plus a small surrounding margin
- Spread cream evenly using gentle, consistent motions
The thickness of the cream matters significantly. You want a substantial layer that will provide comprehensive numbness without being so thick that it prevents proper absorption.
Uneven cream application can result in inconsistent pain relief during your tattoo experience.
Remember that different body areas might require slightly different application techniques. Take your time and ensure complete, uniform coverage to maximize the numbing effect.
Pro tip: Use a clean plastic wrap or medical tape to cover the numbing cream after application, which can help increase the cream’s effectiveness and absorption.
Step 4: Cover and wait for maximum numbing effect
With the numbing cream applied, you’re now entering a crucial waiting period that will determine the effectiveness of your pain management strategy. The next 40-60 minutes are critical for ensuring a comfortable tattoo experience.
Follow these precise numbing techniques to maximize the cream’s pain-blocking potential:
- Cover the entire creamed area with medical-grade plastic wrap
- Ensure no air bubbles are trapped under the wrap
- Maintain a consistent body temperature during waiting period
- Avoid touching or disturbing the wrapped area
- Keep the wrap sealed for 45-60 minutes
The plastic wrap serves a critical purpose beyond just coverage. It creates an occlusive environment that helps the lidocaine penetrate deeper into your skin layers, enhancing the numbing effect.
Proper occlusion can increase the numbing cream’s effectiveness by up to 40%.
During this waiting period, stay relaxed and avoid excessive movement. The goal is to allow the anesthetic to work its magic and create a comprehensive pain-blocking barrier.
Pro tip: Set a timer on your phone to track the exact waiting duration and prevent accidentally removing the wrap too early.
Step 5: Remove cream and verify numbness before tattooing
You’ve reached a critical moment in your pain management process. Now it’s time to carefully remove the numbing cream and confirm that the area is sufficiently desensitized before your tattoo session begins.
Follow these careful numbing verification steps to ensure optimal pain relief:
- Remove plastic wrap gently
- Wipe away excess cream using a clean tissue
- Test skin sensitivity using light touch techniques
- Check different areas of the tattoo site
- Confirm consistent numbness across entire region
Numbing verification requires a systematic approach. Lightly touch or apply minimal pressure to different parts of the area to assess the anesthetic’s effectiveness. If some spots remain sensitive, you might need to reapply the cream or adjust your waiting time.
Complete and uniform numbness is essential for a comfortable tattoo experience.
Remember that individual skin responses vary. What works perfectly for one person might require slight modification for another. Communication with your tattoo artist about your numbness level is key.
Pro tip: Ask your tattoo artist to do a final numbness check before starting, as their professional touch can provide an additional verification layer.
Experience Pain-Free Tattoos with Trusted Numbing Creams
If you want to follow the exact numbing process step-by-step to minimize pain during your tattoo session, choosing the right numbing cream is essential. The challenge many face is uneven or insufficient numbness, which can make tattooing uncomfortable or painful despite proper preparation. Using high-quality creams like TKTX and Dermacain, designed for up to 3 hours of guaranteed pain relief, solves this by delivering consistent and strong numbing effects. This means you can focus on your new tattoo without worrying about discomfort.

Discover the difference with our premium numbing products available across Europe. Benefit from free shipping on orders over 30 Euro and a customer satisfaction guarantee. If you are not fully satisfied, just send the product back for a refund. Start your pain-free tattoo journey today by visiting our site and explore the trusted solutions that complement the careful numbing steps outlined in the guide. Don’t wait until your tattoo appointment to experience real relief — prepare effectively with TKTX and Dermacain numbing creams now.
Frequently Asked Questions
What supplies do I need for the numbing process before getting a tattoo?
To prepare for a pain-free tattoo experience, gather specific supplies like a 5% lidocaine-based numbing cream, plastic wrap, mild soap, clean cotton swabs, disposable gloves, and a clean towel. Collect these items before your session to ensure you are ready for maximum comfort.
How do I properly clean the tattoo area before applying numbing cream?
Start by washing your hands thoroughly, then use mild, unscented soap and lukewarm water to clean the tattoo area. Pat the skin dry with a clean towel, ensuring that the area is completely dry for optimal cream absorption.
How should I apply numbing cream for effective pain relief?
Apply a thick, generous layer of the numbing cream evenly over the entire tattoo area, making sure to cover a small surrounding margin as well. Use clean disposable gloves and gentle motions to ensure complete coverage for maximum effectiveness.
How long should I leave the numbing cream on for it to work?
You should cover the applied numbing cream with plastic wrap and let it sit for 45-60 minutes. This occlusive method enhances the cream’s absorption, improving pain relief during the tattoo session.
How can I verify that the numbing cream is effective?
After removing the plastic wrap, gently wipe away any excess cream and test the sensitivity of the skin with light touch techniques. Ensure that the entire tattoo area is consistently numb before proceeding with the tattoo to ensure a comfortable experience.
What should I do if some areas of my skin remain sensitive after numbing?
If you notice that some spots are still sensitive, consider reapplying the cream and extending your waiting time to allow for deeper absorption. Communicate with your tattoo artist about any discomfort for additional support during the tattoo process.


