
Over half of American adults now have at least one tattoo, but many still worry about pain before the needle even touches their skin. Understanding your skin type and tattoo location is the first step to a more comfortable experience. Whether you are considering your first tattoo or looking for ways to minimize discomfort during a new session, this guide reveals how smart preparation, the right numbing cream, and careful skin assessment can make your next tattoo safer and less painful.
Table of Contents
- Step 1: Assess Your Tattoo Area And Skin Type
- Step 2: Select The Most Effective Numbing Cream
- Step 3: Apply Numbing Cream Correctly Before Tattooing
- Step 4: Monitor Skin Response Before Starting Tattoo
- Step 5: Verify Numbness And Begin Tattoo Process
Quick Summary
| Key Point | Explanation |
|---|---|
| 1. Assess skin and tattoo area | Examine the tattoo site for existing conditions and sensitivity. Clean thoroughly to ensure the numbing cream works effectively. |
| 2. Choose the right numbing cream | Select a numbing cream that fits your tattoo’s complexity and duration for optimal pain relief during your session. |
| 3. Apply numbing cream accurately | Apply a thin, even layer of cream, cover it to prevent drying, and communicate with your artist for best practices. |
| 4. Monitor skin response before tattoo | Inspect the numbed area for any adverse reactions, ensuring it’s safe to proceed with the tattooing process. |
| 5. Confirm numbness before starting | Check the level of numbness and communicate any discomfort to your artist, being prepared for some sensation during the process. |
Step 1: Assess your tattoo area and skin type
Preparing for a pain free tattoo starts with understanding your unique skin characteristics and tattoo location. Knowing your skin type and the specifics of your tattoo area can significantly impact how effectively numbing cream works and reduce potential complications.
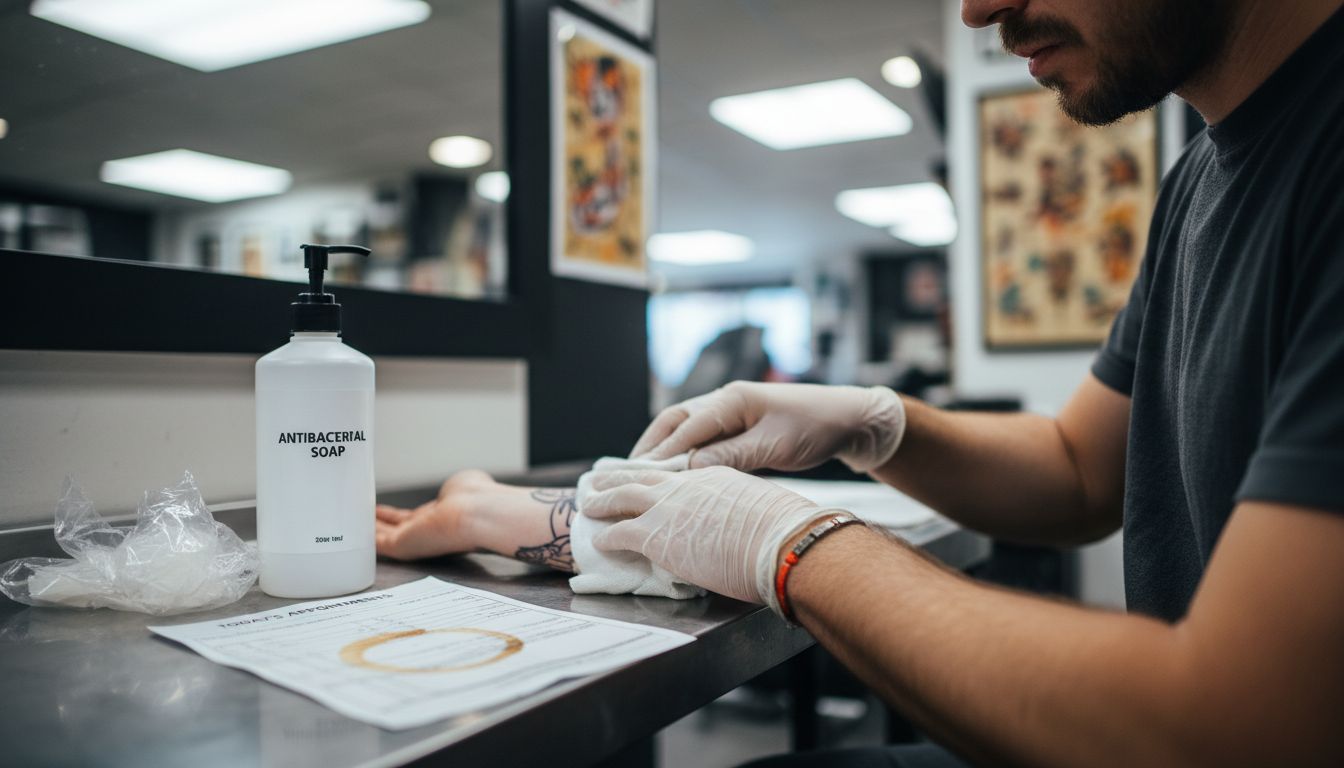
Start by carefully examining the area where you will get tattooed. Look for any existing skin conditions, scars, or areas of sensitivity. If you have sensitive skin or a history of allergic reactions, performing a preliminary patch test is crucial. Clean the skin thoroughly with mild soap and warm water to remove any oils or dirt that might interfere with the numbing cream’s absorption. Pat the area dry completely before moving forward.
Before applying any numbing product, do a simple skin sensitivity test. Apply a small amount of cream to a non tattooed area like your inner forearm and wait approximately 20 minutes. Watch for any redness, itching, or unusual reactions. If you experience no adverse effects, you are likely safe to proceed. However, if any irritation occurs, discontinue use and consult a healthcare professional. Remember that proper preparation can make the difference between a smooth tattoo experience and a potentially uncomfortable situation.
Step 2: Select the most effective numbing cream
Choosing the right numbing cream can transform your tattoo experience from potentially painful to surprisingly comfortable. Your goal is to find a product that matches your specific tattoo session length and provides consistent pain relief throughout the process.
When selecting a numbing cream, consider the duration and complexity of your tattoo. Different creams offer varying levels of effectiveness and numbing times. For smaller tattoos requiring shorter sessions, products like LMX4 Lidocaine 4% work well, numbing the area within 30 minutes and lasting about an hour. If you are planning a more extensive tattoo that will take several hours, look for stronger formulations like J-Cain Cream with Lidocaine, which can provide numbing for 3-4 hours.
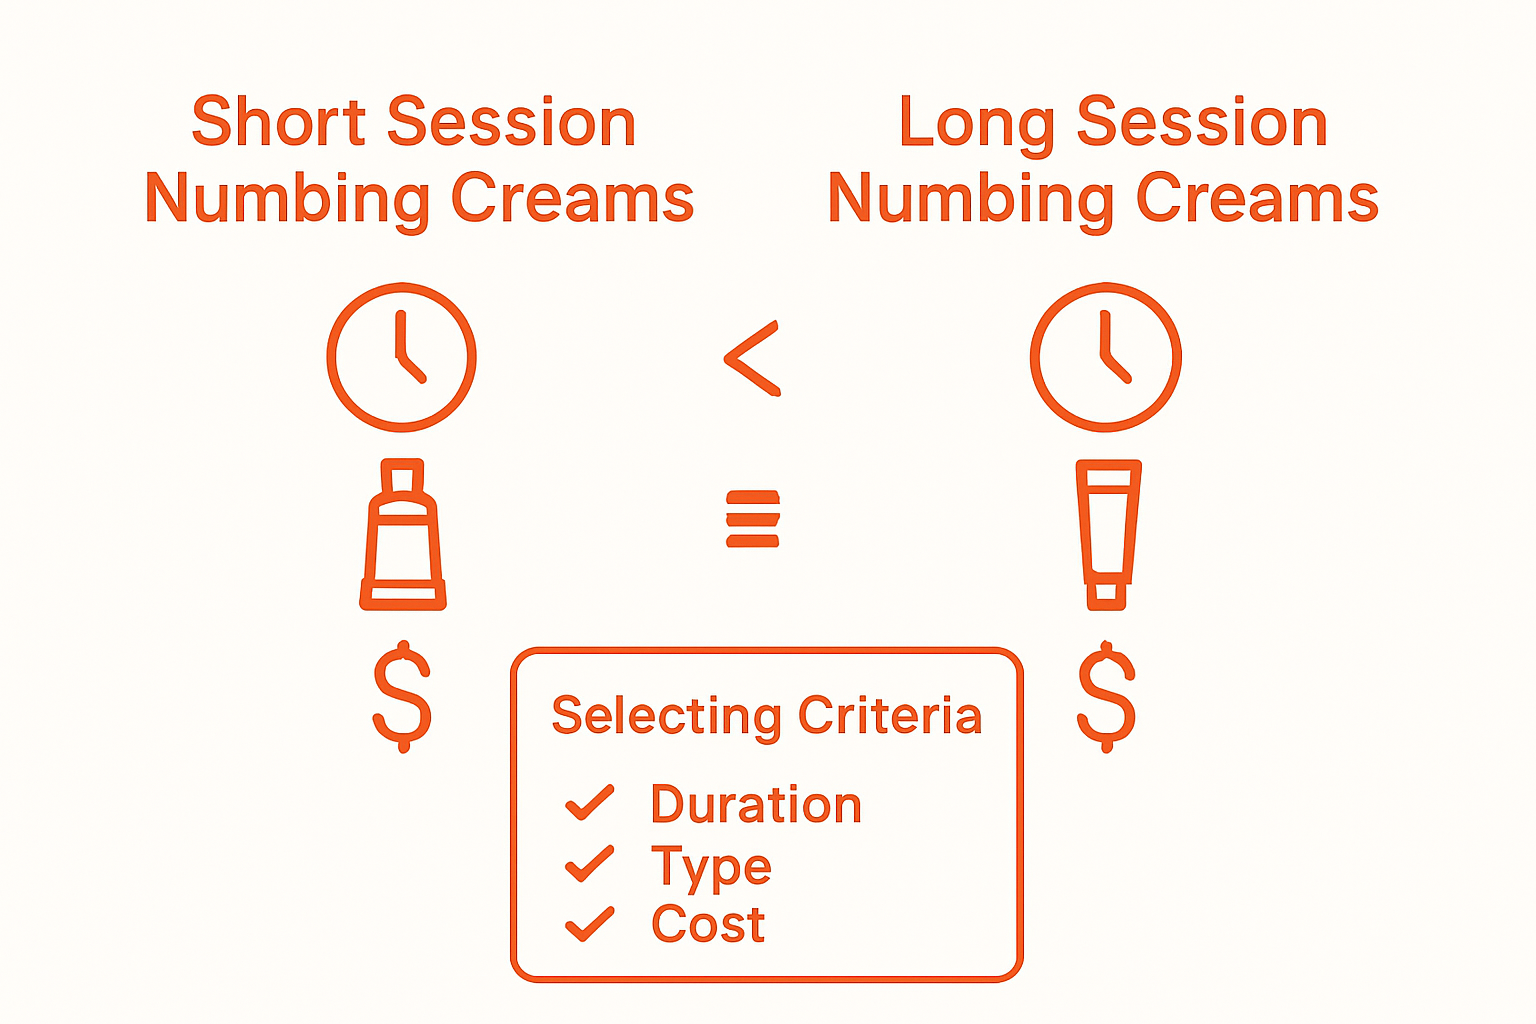
Pro tip: Always read the product instructions carefully and do a patch test before your tattoo session. Some creams require specific application times or techniques to maximize their effectiveness. Check with your tattoo artist about their recommendations and any restrictions on numbing cream usage. They might have insights specific to their tattooing style and the area you are getting tattooed. Remember, the right numbing cream can make your tattoo experience smoother and more comfortable.
Step 3: Apply numbing cream correctly before tattooing
Applying numbing cream is an art that requires precision and careful attention to ensure maximum effectiveness during your tattoo session. Your goal is to create a protective layer that minimizes pain and helps you stay comfortable throughout the tattooing process.
Begin by thoroughly cleaning the tattoo area with mild soap and water. Gently pat the skin dry and ensure no moisture remains. Apply a thin but consistent layer of numbing cream, covering the entire area where the tattoo will be placed. Use clean hands or a sterile applicator to spread the cream evenly, making sure to reach all corners of the designated tattoo zone. Allow the cream to sit for the recommended time typically between 30 to 45 minutes before your tattoo appointment. This waiting period enables the active ingredients to penetrate and numb the skin effectively.
A critical pro tip is to cover the numbed area with clear plastic wrap after application. This technique helps prevent the cream from drying out and enhances its absorption into the skin. However, be careful not to rub or disturb the cream once applied. Always communicate with your tattoo artist about the numbing cream you have used and follow their specific guidelines. Some artists may have preferences or recommendations based on their experience. Remember to bring a small towel or wet wipe to remove any excess cream just before your tattoo begins.
Step 4: Monitor skin response before starting tattoo
Before your tattoo session begins, carefully observing your skin’s reaction to the numbing cream is crucial for ensuring a safe and comfortable experience. This final preparatory step helps you identify any potential adverse reactions and confirms that your skin is ready for the tattooing process.
Inspect the numbed area thoroughly for any signs of unusual response. Look for consistent skin color, absence of excessive redness, swelling, or irritation. Pay close attention to how your skin feels touch the area gently to check for any unexpected sensations like intense burning, stinging, or unexpected numbness. If you notice anything abnormal during this inspection your numbing cream might not be compatible with your skin type. Do not proceed with the tattoo if you observe any concerning symptoms.
Pro tip: Always keep communication open with your tattoo artist during this monitoring phase. Show them the numbed area and ask for their professional assessment. Some experienced artists can quickly spot potential issues that might not be immediately apparent to you. They can help determine whether the numbing cream has been applied correctly and whether your skin appears prepared for the tattooing process. Remember that while numbing cream can significantly reduce discomfort your safety and skin health always come first.
Step 5: Verify numbness and begin tattoo process
The moment of truth arrives when you confirm that your numbing cream has done its job effectively. This critical step determines whether you are truly prepared for your tattoo session and can help minimize potential discomfort during the artistic process.
Start by performing a gentle sensitivity test on the numbed area. Lightly touch or pinch the skin to assess the level of numbness. You should feel minimal sensation or significant reduction in pain sensitivity. Communicate clearly with your tattoo artist about your current pain tolerance and the effectiveness of the numbing cream. Some artists might perform their own quick assessment by gently touching the area with a sterile needle or discussing your comfort level before beginning.
Pro tip: Even with numbing cream, remain prepared for some level of sensation during your tattoo. Numbing creams reduce pain but do not completely eliminate all feeling. Stay relaxed and maintain open communication with your tattoo artist throughout the process. If you experience unexpected pain or discomfort, inform your artist immediately. They can adjust their technique or reapply numbing cream if necessary. Remember that everyone’s pain threshold and skin response are unique your experience might differ from others who have used the same numbing method.
Experience a Pain-Free Tattoo with Trusted Numbing Creams
Getting a tattoo should be an exciting journey, not one filled with pain and discomfort. This article highlights the importance of selecting the right numbing cream, assessing skin sensitivity, and applying it correctly to minimize tattoo pain. If your goal is to enjoy a smooth tattoo experience without the usual pain, reliable products like TKTX and Dermacain are your best allies. These creams guarantee up to 3 hours of effective numbing, letting you focus on your tattoo art, not the sting.

Discover the difference professional numbing creams can make. We proudly serve customers across Europe with free shipping on orders over 30 Euro and a money-back guarantee if you are not satisfied and return the product. Don’t let pain hold you back from your tattoo dreams. Visit our website now to choose your perfect tattoo numbing solution and get ready for a comfortable session. Take the first step to a pain-free tattoo by exploring our range of proven numbing creams at Buy TKTX. Your painless tattoo experience starts here.
Frequently Asked Questions
How can I assess my skin type and tattoo area before using numbing cream?
Start by examining the tattoo area for any existing skin conditions or sensitivity. Clean the skin with mild soap and warm water, then perform a patch test on a non-tattooed area to check for any adverse reactions.
What factors should I consider when selecting a numbing cream for my tattoo?
Consider the size, duration, and complexity of your tattoo when selecting a numbing cream. For shorter sessions, a cream like LMX4 Lidocaine 4% is effective, whereas for longer sessions, a stronger cream like J-Cain may be more suitable for consistent pain relief lasting up to 4 hours.
How do I apply numbing cream effectively before getting a tattoo?
To apply numbing cream effectively, clean the area thoroughly, then spread a thin, even layer over the tattoo site. Cover it with clear plastic wrap to enhance absorption and wait 30 to 45 minutes before your tattoo appointment.
What signs should I look for to ensure my skin is reacting well to the numbing cream?
Look for consistent skin color without excessive redness or swelling after applying the numbing cream. Gently touch the area to assess if there’s minimal sensation; if you notice any irritation or unusual reactions, do not proceed with the tattoo and consult a professional.
How can I verify that the numbing cream is working effectively before starting my tattoo?
Perform a gentle sensitivity test by lightly touching or pinching the numbed area to evaluate pain reduction. Communicate your comfort level with your tattoo artist to ensure you’re ready to proceed with the tattoo process safely.


