
Finding the right approach for a pain-free tattoo session can feel overwhelming, especially if you are sensitive to discomfort. With tattoos becoming more popular across Central Europe, many clients focus on how to make the experience as smooth as possible. This guide highlights the most effective steps to use numbing cream safely and confidently, from checking your skin’s condition to verifying numbness before the needle touches your skin. Skin sensitivity and proper preparation are key for a comfortable tattoo experience.
Table of Contents
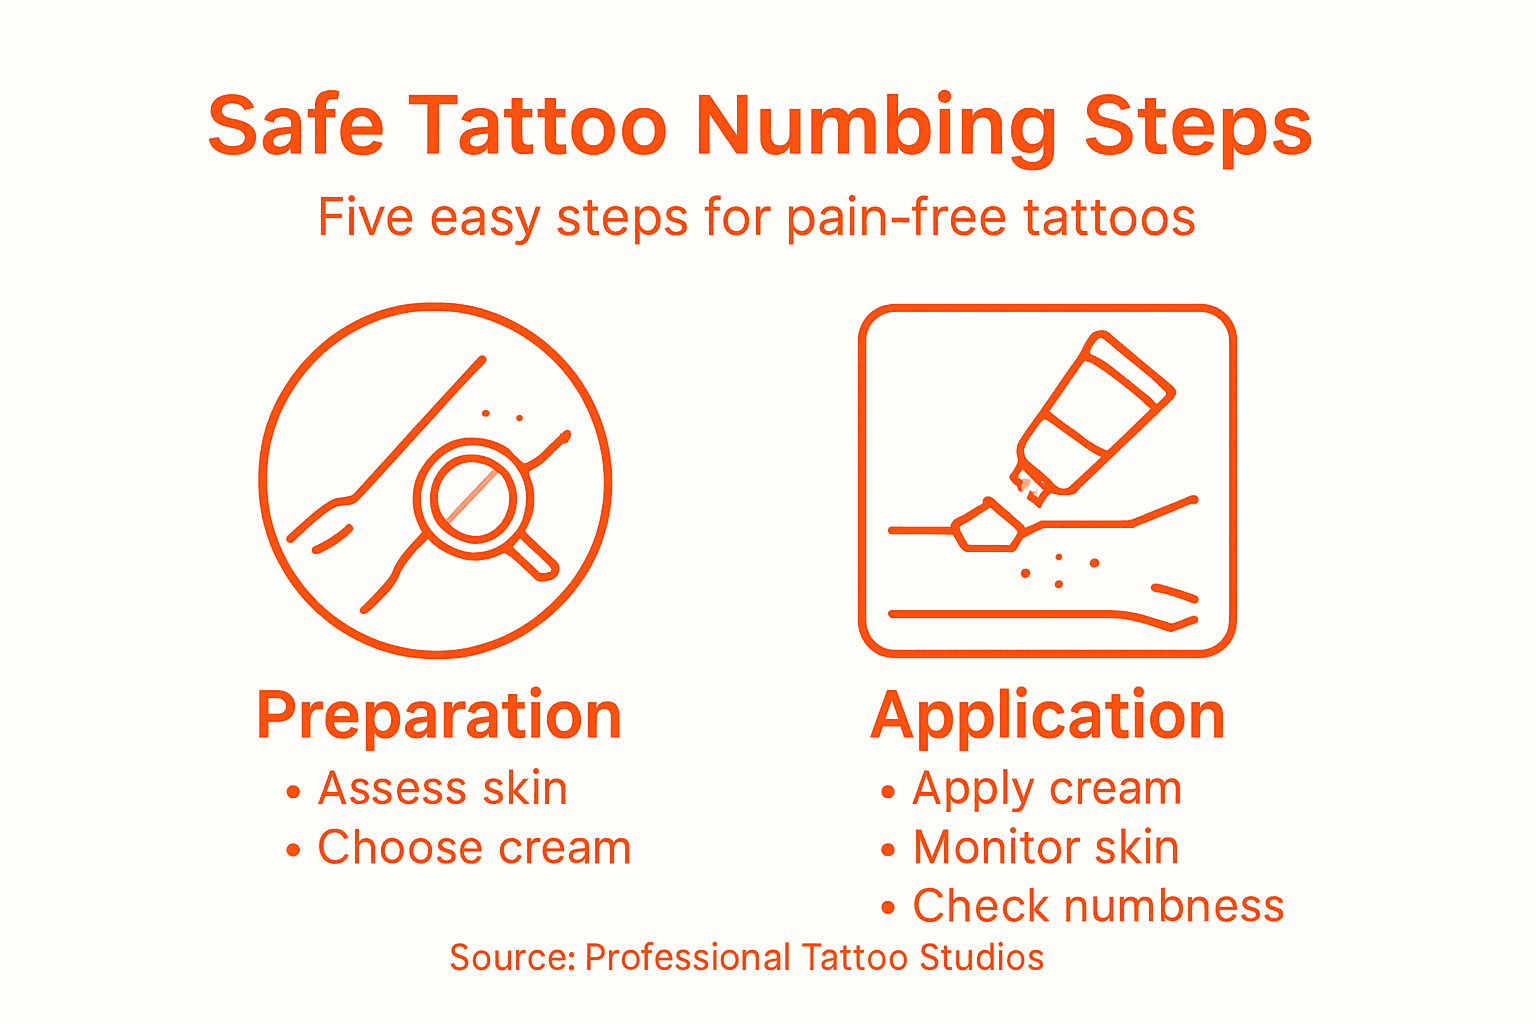
- Step 1: Assess Skin Sensitivity And Tattoo Placement
- Step 2: Select And Prepare Numbing Cream Properly
- Step 3: Apply Numbing Cream Following Precise Steps
- Step 4: Monitor Skin Response And Effectiveness
- Step 5: Verify Numbness Before Starting Tattoo
Quick Summary
| Key Insight | Explanation |
|---|---|
| 1. Assess skin condition carefully | Evaluate sensitivity and any existing skin conditions before getting a tattoo to avoid complications. |
| 2. Choose numbing cream wisely | Select a professional-grade numbing cream based on active ingredients and skin compatibility for effective pain relief. |
| 3. Follow precise application steps | Apply the numbing cream uniformly, ensuring complete coverage and monitoring skin reactions for the best results. |
| 4. Verify numbness before tattooing | Conduct a gentle touch test to ensure effective numbness, communicating any concerns with your tattoo artist. |
| 5. Monitor skin response closely | Observe for any adverse reactions during numbness application to ensure a safe and comfortable tattoo experience. |
Step 1: Assess skin sensitivity and tattoo placement
Assessing your skin’s unique characteristics and ideal tattoo placement is crucial for a safe, comfortable tattooing experience. Understanding your skin’s sensitivity will help prevent potential complications and ensure a smooth, pain-free procedure.
Before getting a tattoo, carefully evaluate your skin’s condition by examining factors like sensitivity, existing skin conditions, and potential allergic reactions. The FDA recommends thorough skin assessment to minimize health risks associated with tattooing.
Key considerations for skin sensitivity assessment include:
- Check for any existing skin conditions like eczema, psoriasis, or dermatitis
- Examine your skin for recent cuts, bruises, sunburn, or open wounds
- Identify areas with previous scarring or uneven skin texture
- Test your pain tolerance in the specific tattoo placement area
When selecting tattoo placement, consider these important factors:
- Skin elasticity and movement in the chosen area
- Potential visibility and professional implications
- Proximity to bone structures or sensitive tissue
- Long-term aesthetic appearance and potential body changes
Skin type and location directly impact tattoo healing and appearance. Some body areas are more sensitive and prone to complications, so consulting with a professional tattoo artist can provide personalized guidance.
Here’s a quick comparison of common tattoo placement areas and their sensitivity:
| Tattoo Area | Skin Sensitivity | Healing Challenges | Professional Visibility |
|---|---|---|---|
| Forearm | Moderate | Heals quickly | Usually visible |
| Upper back | Low | Less movement | Often hidden by clothing |
| Rib cage | High | Painful, slow healing | Less visible |
| Ankle | Very high | Prone to swelling | May be visible with shorts |
| Thigh | Low | Good blood flow | Generally hidden unless exposed |
This helps you weigh pain, healing, and visibility by area.
Carefully assessing your skin’s unique characteristics before tattooing can prevent potential complications and ensure a more comfortable experience.
Pro tip: Consider performing a patch test with numbing cream on a small skin area to check for potential allergic reactions before your full tattoo session.
Step 2: Select and prepare numbing cream properly
Selecting the right numbing cream and preparing it correctly are critical steps in ensuring a comfortable and safe tattoo experience. Your choice of numbing product can significantly impact your pain management and overall tattooing process.
When choosing a numbing cream, carefully evaluate its active ingredients and compatibility with your skin. Lidocaine-based creams offer reliable numbing solutions that can effectively reduce pain during tattoo sessions. Look for professional-grade products specifically designed for tattoo numbing.
Key considerations when selecting a numbing cream include:
- Check the percentage of active numbing ingredients
- Verify FDA-approved or medically certified products
- Review potential allergic reaction warnings
- Confirm compatibility with your specific skin type
Preparation steps for optimal numbing cream application:
- Clean the tattoo area thoroughly with mild soap
- Dry the skin completely before application
- Apply a thick, even layer of numbing cream
- Cover the area with clean plastic wrap
- Allow 40-60 minutes for maximum numbing effect
Always perform a patch test before full application to check for potential skin reactions. Some individuals might experience sensitivity or allergic responses to topical numbing agents.
The following summary highlights key differences between numbing cream types:
| Numbing Cream Type | Active Ingredient | Duration of Effect | Typical Side Effects |
|---|---|---|---|
| Lidocaine-based | Lidocaine | 40-60 minutes | Mild redness, tingling |
| Benzocaine-based | Benzocaine | 20-30 minutes | Temporary numbness, dryness |
| Tetracaine-based | Tetracaine | 30-45 minutes | Allergic reactions possible |
| Combination formula | Multiple agents | 60+ minutes | Greater numbing, irritation |
Knowing the key ingredients and effects helps you select the most suitable numbing cream.
Proper preparation and selection of numbing cream can transform your tattoo experience from painful to comfortable.
Pro tip: Consult with your tattoo artist about their recommended numbing cream brands and application techniques for the best results.
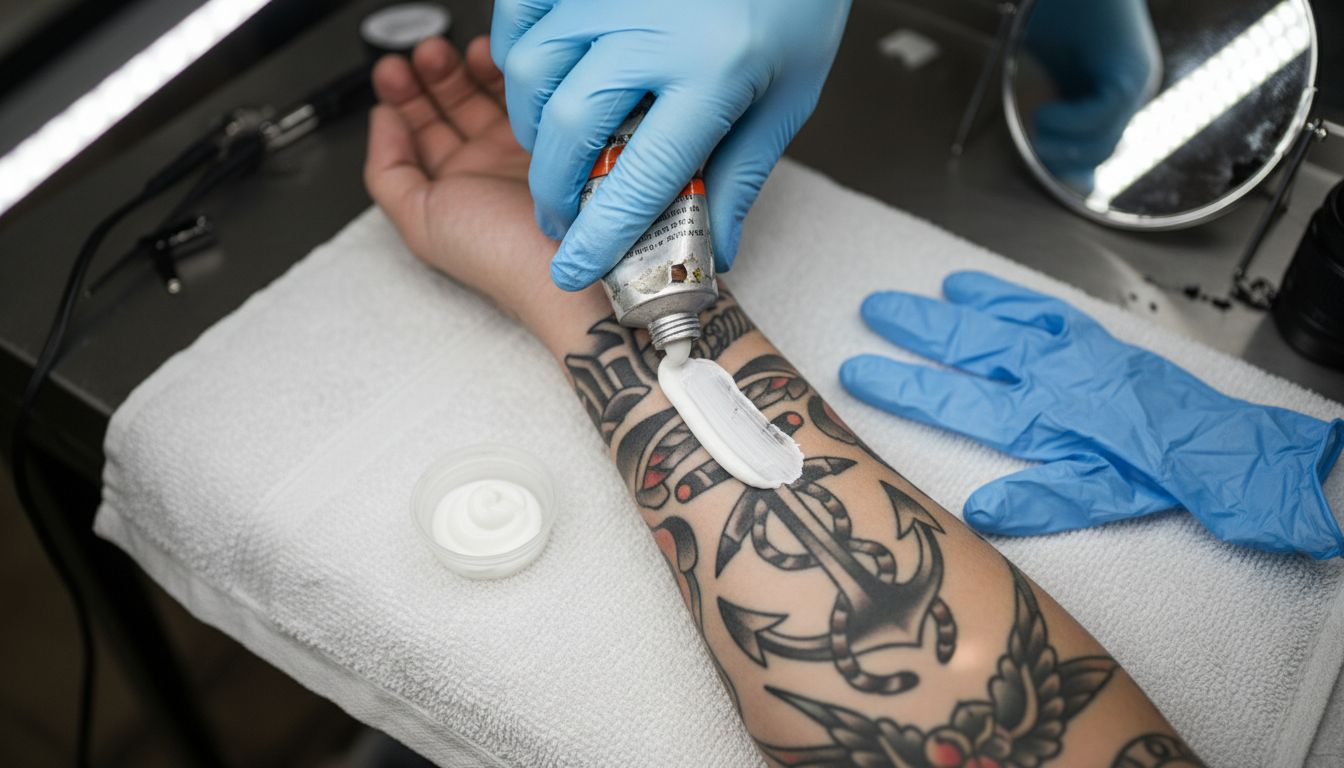
Step 3: Apply numbing cream following precise steps
Applying numbing cream requires precision and careful technique to ensure maximum pain reduction and skin protection during your tattoo session. Each step you take can significantly impact the effectiveness of your pain management strategy.
Topical numbing techniques demand careful application to achieve optimal results and minimize potential skin irritation. Professional application involves more than simply spreading cream across your skin.
Detailed application process for numbing cream:
- Thoroughly wash hands with antibacterial soap
- Clean the tattoo area with mild, unscented soap
- Pat skin completely dry with clean towel
- Use disposable gloves for cream application
- Apply cream in thick, uniform layer
- Extend cream coverage 1 inch beyond tattoo area
- Cover with clean plastic wrap
Key application tips include:
- Use a consistent, even layer of cream
- Avoid applying on broken or irritated skin
- Ensure complete coverage of intended tattoo zone
- Monitor skin for any adverse reactions
- Keep the area covered and undisturbed
Timing is critical for numbing cream effectiveness. Most professional-grade creams require 40-60 minutes of application time to achieve maximum numbness. Communicate your preparation timeline with your tattoo artist to synchronize your numbing process.
Precise application techniques can transform your tattoo experience from potentially painful to remarkably comfortable.
Pro tip: Set a timer when applying numbing cream to track exact application duration and ensure optimal pain reduction.
Step 4: Monitor skin response and effectiveness
Careful monitoring of your skin’s response to numbing cream is crucial for ensuring a safe and comfortable tattoo experience. Understanding how your body reacts can help prevent potential complications and optimize pain management during your tattoo session.
Dermatological monitoring techniques are essential for identifying any unexpected skin reactions early in the process. Your vigilance can make the difference between a smooth tattoo experience and potential skin complications.
Key indicators to watch during numbing cream application:
- Observe skin color and texture changes
- Check for unexpected redness or swelling
- Monitor for any burning or tingling sensations
- Assess the area’s sensitivity level
- Look for signs of allergic reactions
Effectiveness assessment steps:
- Gently touch the numbed area to test sensation reduction
- Compare sensitivity between numbed and non-numbed skin
- Note the duration of numbness
- Communicate any unusual sensations to your tattoo artist
- Be prepared to remove cream if adverse reactions occur
Numbness intensity varies by individual. Some people may experience complete sensation loss, while others might have partial numbness. Your personal response can depend on factors like skin type, cream concentration, and individual pain tolerance.
Careful skin monitoring transforms a potentially risky procedure into a controlled, comfortable experience.
Pro tip: Always keep a clean, damp cloth nearby to quickly remove numbing cream if you experience any unexpected skin reactions.
Step 5: Verify numbness before starting tattoo
Before your tattoo artist begins work, you must carefully verify that the numbing cream has effectively reduced skin sensitivity. This crucial step ensures a comfortable and pain-minimized tattooing experience.
Medical guidelines recommend thorough numbness verification to prevent unexpected pain during the tattoo process. Understanding how to properly assess your skin’s numbness can make a significant difference in your overall comfort.
Verification techniques for numbing effectiveness:
- Perform gentle touch test on numbed area
- Compare sensation between numbed and non-numbed skin
- Check for complete or partial loss of sensation
- Assess skin’s response to light pressure
- Look for consistent numbness across entire tattoo zone
Detailed numbness assessment steps:
- Lightly touch the numbed area with fingertip
- Pinch skin very gently to test sensitivity
- Ask tattoo artist to confirm numbness level
- Request additional cream if sensation remains
- Wait extra time if numbness is inconsistent
Numbness intensity can vary significantly between individuals. Factors like skin type, cream concentration, and personal pain tolerance will impact how effectively the numbing cream works.
Proper numbness verification transforms a potentially painful experience into a controlled, comfortable procedure.
Pro tip: Communicate openly with your tattoo artist about your numbness level to ensure they adjust their technique accordingly.
Experience Pain-Free Tattooing with Professional Numbing Solutions
Taking control of your tattoo experience starts with effective pain management and proper skin care. This guide highlights the importance of selecting and applying the right numbing cream to reduce discomfort and ensure a smooth process from start to finish. Avoid surprises like allergic reactions or ineffective numbness by choosing trusted products designed for your unique skin needs.
Discover how our carefully curated selection of premium numbing creams can help you achieve the painless tattoo session you deserve. Whether you need long-lasting numbness or gentle skin compatibility, we have options that guarantee up to 3 hours of reliable pain relief.
Shop our Featured Products – TKTX obchod to find professional-grade numbing creams like TKTX and Dermacain. Join thousands of satisfied customers across Europe enjoying safe, comfortable tattoos with our money-back satisfaction guarantee and free shipping on orders over 30 Euro. Visit TKTX obchod Home page or explore more at https://buytktx.online and take your pain-free tattoo journey to the next level today.

Ready to tattoo with confidence and minimal pain? Start by choosing the right numbing cream now at https://buytktx.online and experience tattooing like never before.
Frequently Asked Questions
How can I assess my skin sensitivity before getting a tattoo?
Assess your skin sensitivity by examining for any existing skin conditions, recent injuries, or irritation. Check areas for pain tolerance and visibility to ensure the selected tattoo placement is suitable for your skin type.
What should I consider when selecting a numbing cream for my tattoo?
Choose a numbing cream with an appropriate active ingredient, such as Lidocaine, and verify that it is FDA-approved. When selecting, also check for potential allergic reactions and compatibility with your skin type to ensure safety during the tattooing process.
How do I properly apply numbing cream before my tattoo session?
Thoroughly clean the tattoo area, dry it completely, then apply a thick, even layer of numbing cream. Cover the area with plastic wrap and let it sit for 40-60 minutes for optimal results before your tattoo begins.
What signs should I monitor for after applying the numbing cream?
Monitor your skin for changes in color, texture, or any unusual sensations such as burning or increased redness. Assess the numbness by gently touching the area, and be prepared to remove the cream if any adverse reactions occur.
How can I verify that the numbing cream has worked effectively?
To verify numbness, lightly touch the numbed area and assess whether you feel less sensation compared to non-numbed skin. If numbness is not complete, communicate this to your tattoo artist and consider waiting longer before starting your session.


