
Tattoo pain creates discomfort and anxiety for many enthusiasts seeking body art. Proper application of numbing cream can dramatically reduce pain during tattooing sessions. Studies show 70% of users report a more comfortable experience with lidocaine-based numbing creams. This guide covers safe, effective application steps and precautions to help you achieve pain-free tattooing for up to 3 hours.
Table of Contents
- Introduction To Tattoo Numbing Cream
- Prerequisites And Skin Preparation
- Step-By-Step Application Guide
- Common Mistakes And Troubleshooting
- Expected Results And Outcomes
- Explore Effective Tattoo Numbing Creams In Europe
- Frequently Asked Questions
Key Takeaways
| Point | Details |
|---|---|
| Pain blocking mechanism | Numbing creams block nerve pain signals but do not eliminate all sensation during tattooing. |
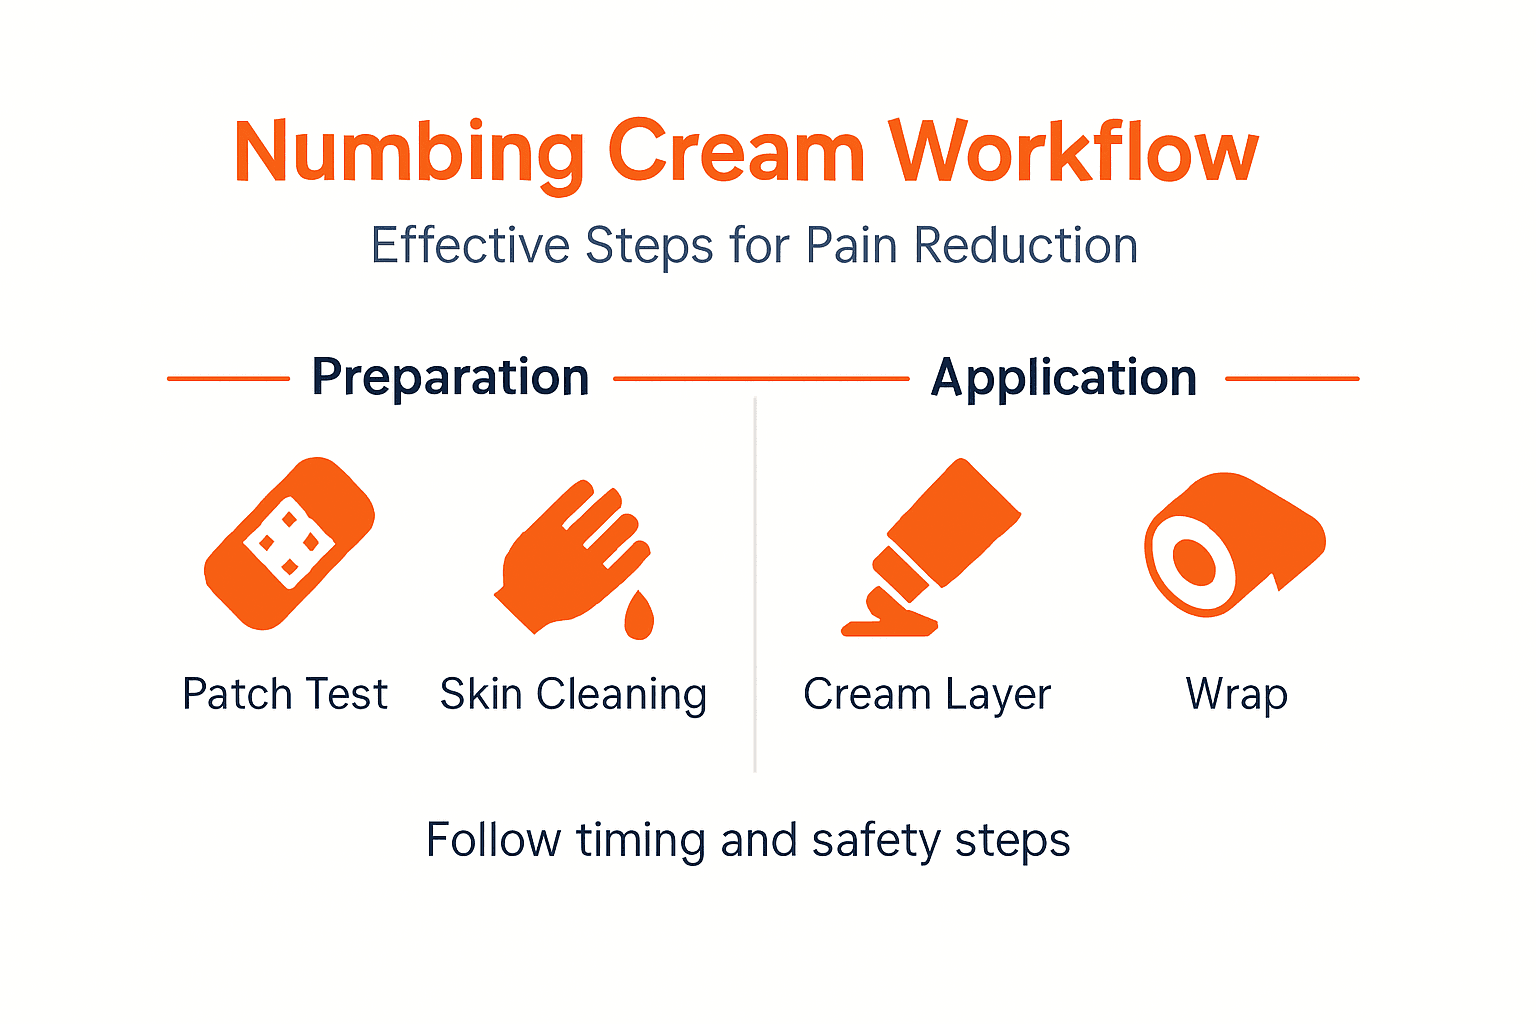
| Essential preparation | Perform a patch test and prep skin with shaving and cleansing before application for optimal results. |
| Application technique | Apply a thick layer (2-3mm), cover with plastic wrap for 60-90 minutes to maximize absorption. |
| Common errors | Thin application, skipping wrap, or premature removal drastically reduce numbing effectiveness. |
| Expected outcomes | Proper use results in numbing lasting 3-4 hours with major pain reduction for most users. |
Introduction to Tattoo Numbing Cream
Tattoo numbing creams contain active anesthetics like lidocaine and prilocaine that provide temporary relief during tattooing sessions. These topical products work by temporarily blocking nerve signals to reduce pain sensation during the tattooing process. Understanding how these creams function helps set realistic expectations about their pain reduction capabilities.
These products do not eliminate all pain sensations completely. Instead, they reduce sharp, intense pain to mild discomfort that most people can tolerate easily. The effectiveness varies based on product strength, active ingredient concentration, and proper application technique.
Key characteristics of tattoo numbing creams include:
- Active ingredients like lidocaine (typically 4-5% concentration) that block sodium channels in nerve cells
- Temporary numbing effect lasting 3-4 hours when applied correctly
- Reduction in pain intensity rather than complete pain elimination
- Variable effectiveness depending on individual pain tolerance and skin type
- Safe for most users when patch tested and applied according to instructions
The benefits of tattoo numbing cream extend beyond pain relief to include reduced anxiety and improved session endurance. Understanding how numbing creams reduce pain at the cellular level gives you confidence in their effectiveness. Realistic expectations prevent disappointment and help you prepare mentally for your tattoo session.
Prerequisites and Skin Preparation
Proper preparation maximizes numbing cream effectiveness and prevents adverse reactions. Taking time to prepare your skin and gather materials ensures the best possible outcome for your tattooing session.
Begin with a patch test 24 hours before your scheduled tattoo appointment. Apply a small amount of numbing cream to your inner forearm and wait to check for redness, itching, or swelling. This simple step identifies potential allergic reactions before applying cream to larger areas.
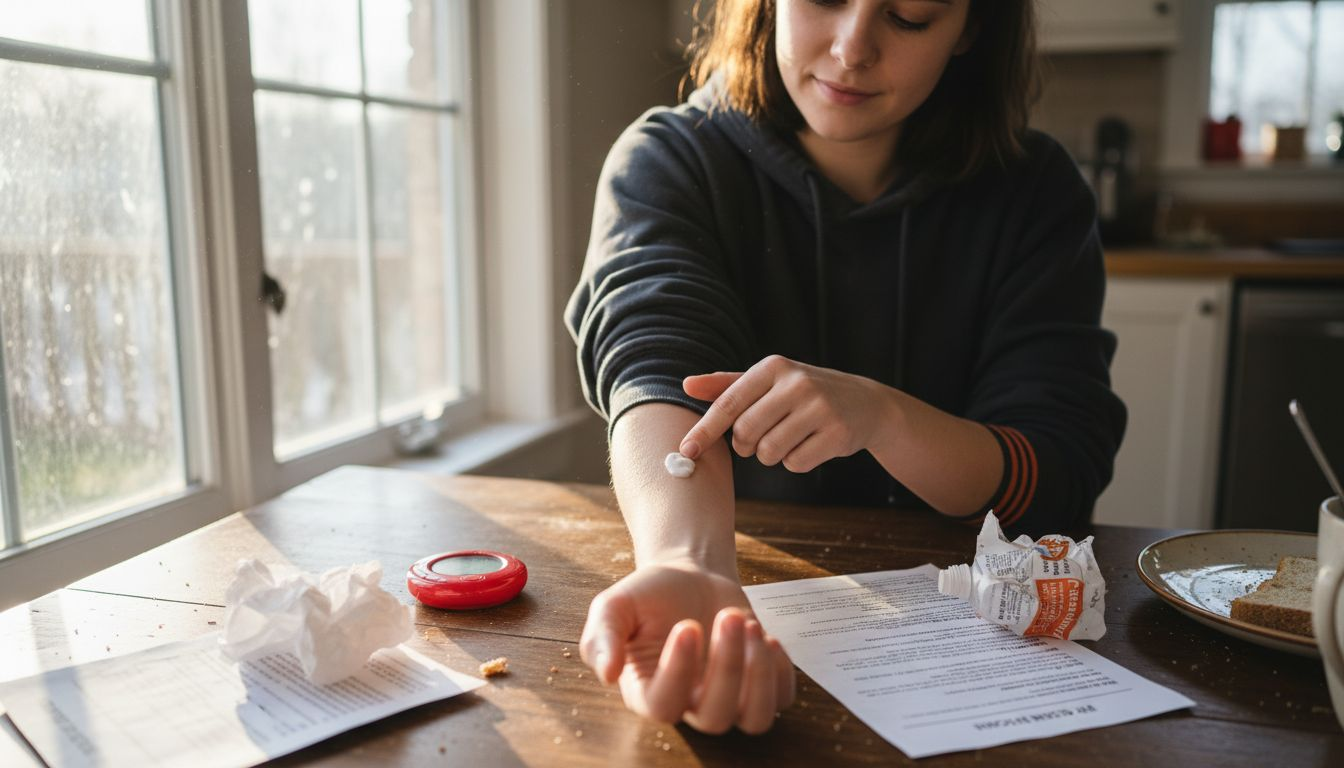
Perform patch test 24 hours before application; shave tattoo area 24 hours prior; cleanse with mild soap; avoid alcohol 24 hours before application to ensure optimal absorption. Shaving removes hair that blocks cream penetration into skin layers where nerve endings reside. Complete this step a full day ahead to allow any razor irritation to subside.
Essential preparation steps include:
- Conduct patch test on inner forearm 24 hours before tattooing
- Shave the tattoo area completely 24 hours in advance
- Cleanse skin gently with mild, fragrance-free soap and warm water
- Dry the area thoroughly with a clean towel
- Avoid alcohol-based products, lotions, and oils for 24 hours prior
- Gather supplies: disposable gloves, plastic wrap, timer, and mild soap
The importance of patch testing cannot be overstated for preventing allergic reactions. Following efficient numbing routines saves time and improves results. Clean, dry, hairless skin allows maximum cream absorption. Understanding proper skin preparation creates the foundation for successful numbing.
Step-by-Step Application Guide
Correct application technique determines whether you achieve effective numbing or disappointing results. Follow these precise steps to maximize pain relief during your tattoo session.
Start by putting on disposable gloves to maintain hygiene and prevent accidental numbing of your fingertips. Open your numbing cream and prepare to apply a generous amount to the entire tattoo area.
Application procedure:
- Wear clean disposable gloves before handling the cream
- Apply a thick, even layer (2-3 mm) covering the entire tattoo area plus 1 cm beyond the borders
- Spread the cream evenly without rubbing it into the skin aggressively
- Cover the cream-applied area completely with plastic wrap, ensuring no air pockets
- Seal the edges of the plastic wrap to trap heat and moisture
- Set a timer for 60-90 minutes depending on product instructions
- Rest comfortably while the cream absorbs, avoiding movement that disrupts the wrap
- Remove the plastic wrap carefully when the timer sounds
- Wipe off all remaining cream with a clean, damp cloth immediately before tattooing
Covering the cream-applied area with plastic wrap for 60-90 minutes boosts absorption and numbing efficacy. The occlusive wrap creates a moist environment that enhances penetration into deeper skin layers. Heat generated under the wrap increases blood flow and active ingredient absorption.
Pro Tip: Never exceed 90 minutes of application time, as prolonged occlusion can cause skin irritation or compromise tattoo ink application quality.
| Application Factor | Recommended Approach | Impact on Numbing |
|---|---|---|
| Cream thickness | 2-3 mm layer | Ensures sufficient active ingredient contact |
| Coverage area | Tattoo area plus 1 cm border | Prevents pain at edges |
| Occlusion time | 60-90 minutes | Maximizes absorption without irritation |
| Wrap seal quality | Complete, no air pockets | Traps heat and moisture effectively |
The step-by-step numbing workflow ensures you do not miss critical steps. Following pain control step by step guidelines improves consistency. Proper occlusion with plastic wrap makes the difference between mild and strong numbing effects.
Common Mistakes and Troubleshooting
Even experienced users make errors that compromise numbing effectiveness. Recognizing and avoiding these pitfalls ensures consistent pain relief results.
Common errors include too thin a layer, no plastic wrap, premature cream removal, and applying on unshaved skin, all reducing numbing effectiveness. Each mistake directly impacts how well the active ingredients penetrate your skin and block nerve signals.
Frequent application mistakes:
- Applying cream too thinly or unevenly across the tattoo area
- Skipping the plastic wrap step entirely or wrapping loosely
- Removing cream before the minimum 60-minute absorption period
- Applying cream over hair without shaving first
- Using expired or improperly stored numbing cream
- Exceeding 90 minutes of occlusion time causing irritation
- Failing to wipe off all cream residue before tattooing begins
Thin application provides insufficient active ingredient concentration at nerve endings. Without plastic wrap, cream dries out and absorption drops significantly. Removing cream too early wastes product and reduces numbing duration.
Pro Tip: Always follow thickness and timing guidelines strictly. Measure your application time with a timer rather than estimating, and apply cream generously without worrying about using too much.
Troubleshooting weak numbing effects starts with reviewing your preparation and application steps. Did you shave 24 hours ahead? Did you apply a full 2-3 mm layer? Did you wrap completely and wait the full time? Identifying where you deviated from proper technique helps you correct the issue for future sessions.
The safe numbing application checklist prevents oversights. Learning from numbing cream myths debunked stops you from following bad advice. Understanding common numbing cream mistakes protects your investment in both product and tattoo session time.
Expected Results and Outcomes
Setting realistic expectations helps you evaluate numbing cream effectiveness accurately. Knowing what to expect prevents disappointment and helps you plan your tattoo session confidently.
Numbing effect typically lasts 3-4 hours; 70% users report more comfortable experience; pain reduced from sharp to mild discomfort. This duration covers most small to medium tattoo sessions completely. Larger pieces may require reapplication or additional pain management strategies.
Typical outcomes from proper application:
- Numbing sensation begins 30-45 minutes after application
- Peak numbing effect occurs around 60-90 minutes
- Strong numbing lasts 3-4 hours after cream removal
- Pain intensity decreases from 7-8/10 to 2-3/10 on average
- Majority of users (70%) report significantly improved comfort
- Small tattoos may require only 60 minutes of application
| Application Duration | Coverage Quality | Expected Numbing Duration |
|---|---|---|
| 60 minutes | Full, thick layer with wrap | 2.5-3 hours of strong numbing |
| 75 minutes | Full, thick layer with wrap | 3-3.5 hours of strong numbing |
| 90 minutes | Full, thick layer with wrap | 3.5-4 hours of strong numbing |
| 60 minutes | Thin layer or no wrap | 1-2 hours of weak numbing |
Effectiveness depends heavily on adherence to preparation and application steps. Skipping any step reduces your results proportionally. Individual factors like skin thickness, metabolism, and pain tolerance also influence outcomes.
You should feel significant pain reduction but not complete absence of all sensation. Some pressure and vibration will still be noticeable during tattooing. This is normal and does not indicate product failure.
Exploring numbing duration and effectiveness by body location helps you plan appropriately. Understanding realistic numbing effect duration prevents unrealistic expectations. Most users find the pain reduction sufficient to make tattooing a comfortable, manageable experience.
Explore Effective Tattoo Numbing Creams in Europe
Now that you understand proper application techniques, choosing the right numbing cream becomes your next priority. Quality products with proven active ingredients deliver the pain relief you expect.
European tattoo enthusiasts have access to trusted brands with key ingredients in numbing creams that provide reliable results. Understanding the types of tattoo numbing creams available helps you select products matching your needs.

TKTX offers professional-grade numbing solutions with guaranteed 3-hour pain relief duration. Their 40% formulation provides strong numbing for even the most sensitive areas. With customer satisfaction guarantees and free shipping on orders over 30 Euro across Europe, exploring TKTX 40% numbing cream gives you confidence in your purchase. If you are not satisfied, simply return the product for a full refund.
Frequently Asked Questions
What is the safest way to test for allergic reaction to numbing cream?
Apply a small amount of cream to your inner forearm 24 hours before your tattoo appointment. Wait and watch for redness, itching, swelling, or rash development. If any reaction occurs, do not use the product on larger areas.
Can I apply numbing cream on all body parts before a tattoo?
You can safely apply numbing cream to most body areas, but avoid mucous membranes, broken skin, and areas with active infections. Sensitive areas like ribs, inner arms, and neck may require shorter application times to prevent irritation.
How soon before tattooing should I remove the numbing cream?
Remove the plastic wrap and wipe off all cream immediately before your tattoo artist begins work. Leaving cream on the skin interferes with ink application and stencil transfer. Your skin should be completely clean and dry.
Is it safe to use numbing cream on sensitive or tattoo-prone skin?
Numbing cream is generally safe for sensitive skin when you perform a patch test first and follow application instructions carefully. People with eczema, psoriasis, or dermatitis should consult a dermatologist before use.
What should I do if I experience skin irritation after numbing cream application?
Remove the cream immediately and rinse the area thoroughly with cool water and mild soap. Apply a cold compress to reduce inflammation. If irritation persists beyond a few hours or worsens, seek medical attention promptly.


